
 Bookmark
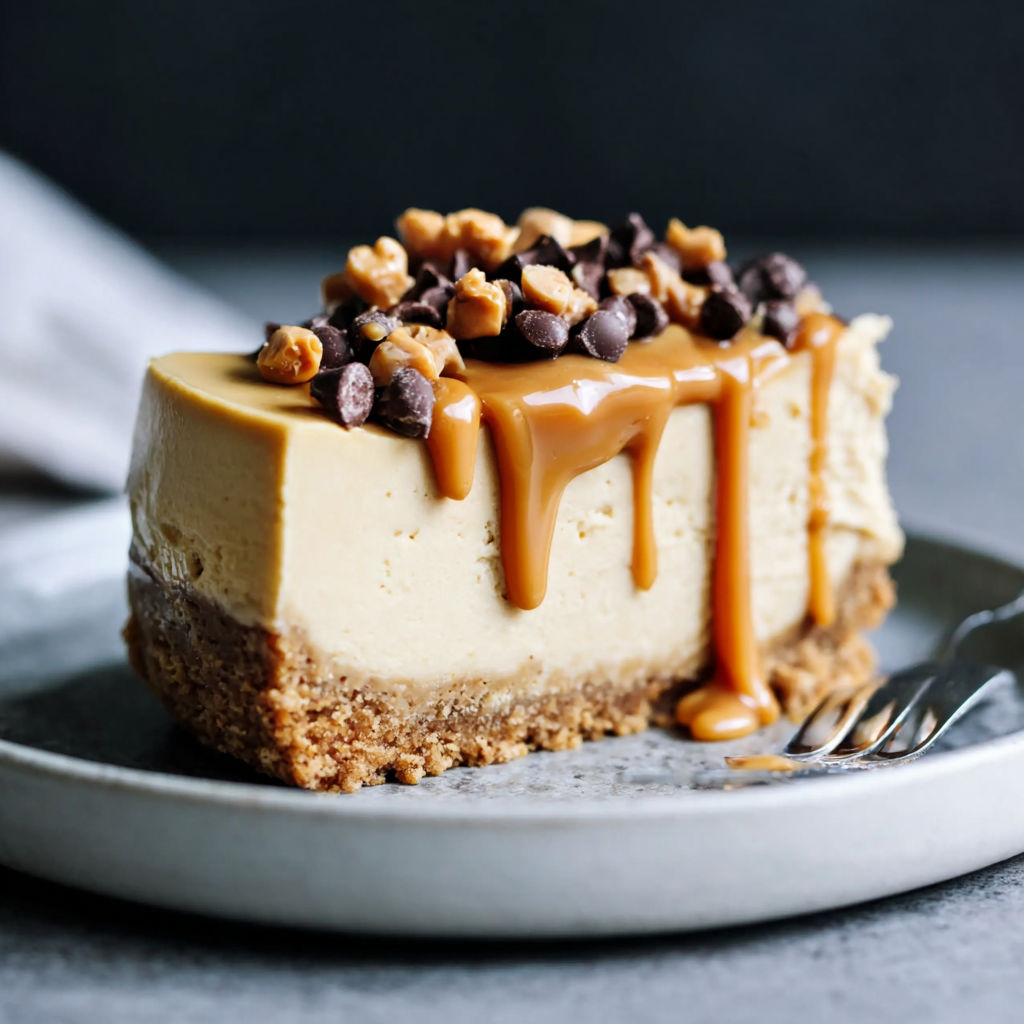
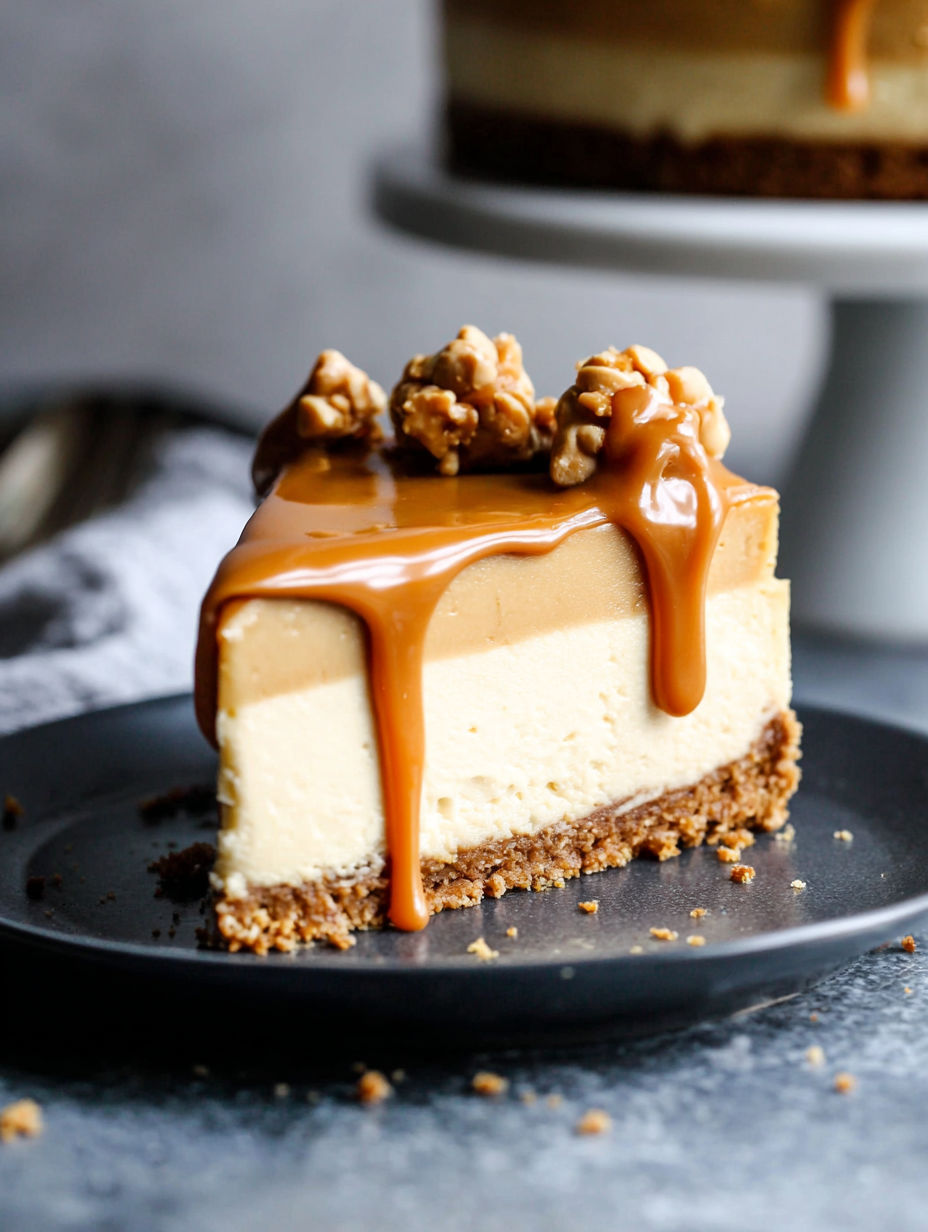
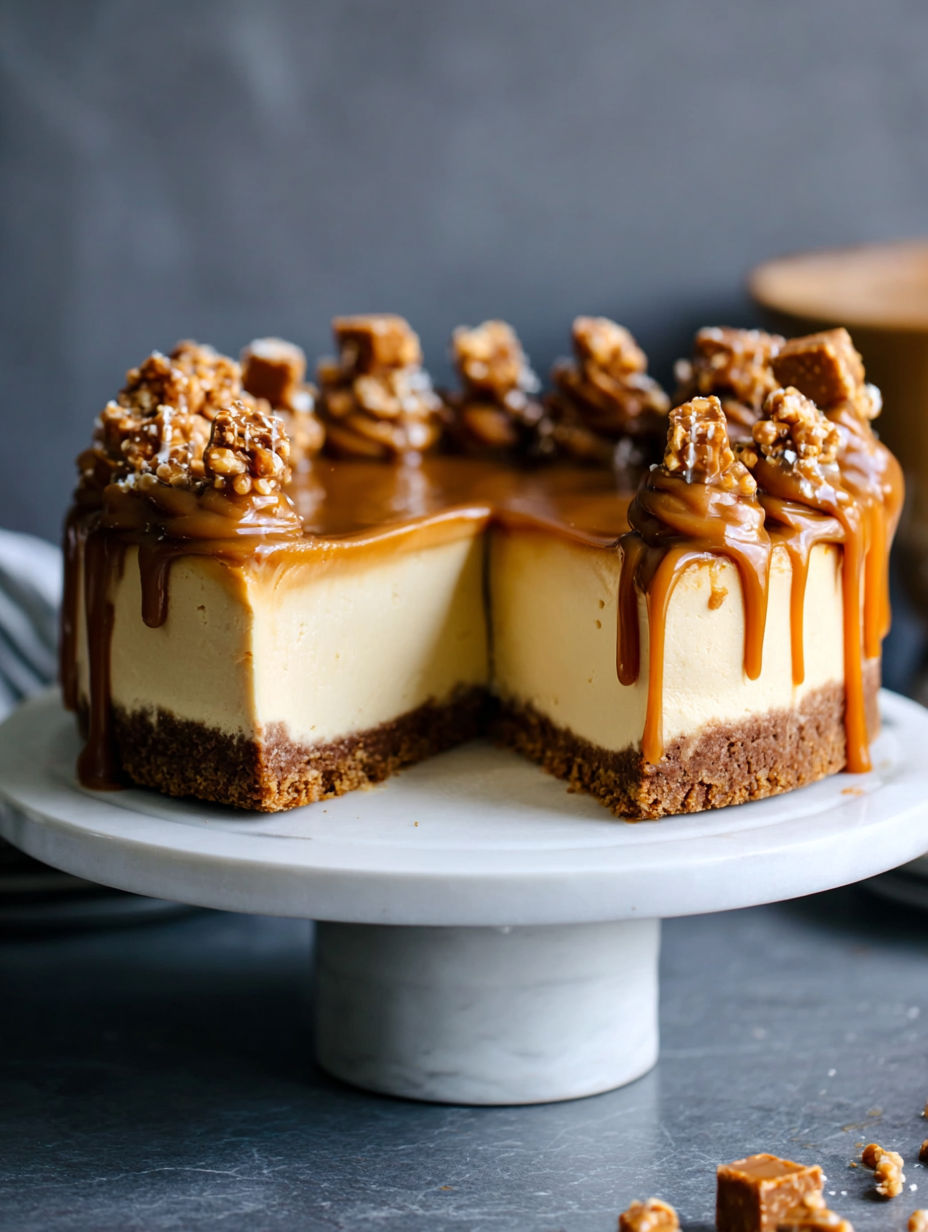
This ultra creamy Loaded Butterscotch Cheesecake fills every bite with decadent butterscotch flavor layered over a buttery graham cracker base and finished with a dreamy butterscotch drizzle. It is a showstopper for special celebrations, yet simple enough to make just because you crave something cozy and indulgent.
I started making this cheesecake one November for a friendsgiving, and it instantly became the most-requested dessert at every family gathering that followed. The first time I made this I was a little nervous about the water bath but it created such a flawless texture my family talks about it to this day.
Ingredients
- Graham cracker crumbs: Deliver sturdy sweet crunch for the crust. Choose fresh crackers and pulse in a food processor for best texture.
- Unsalted butter: For richness and helps crust hold together. Melt for easier blending and flavor.
- Granulated sugar: Adds light sweetness to the crust and caramelizes slightly when baked. Use a pure cane sugar for cleaner flavor.
- Cream cheese: Is the backbone of creamy cheesecake. Use the full-fat block style and let it soften to room temp for smoothness.
- Brown sugar: Packs in those deep buttery notes that pair perfectly with butterscotch. Choose fresh soft brown sugar for maximum moisture.
- Large eggs: Create structure and a silky set. Always use at room temp to prevent lumps.
- Sour cream: Makes the filling super velvety and adds slight tang. Opt for full-fat for best texture.
- Vanilla extract: Rounds out the flavors. Pure vanilla or a good quality imitation will both work.
- Butterscotch chips: Double up the flavor and create luscious pockets in the filling and topping. Look for a brand with real butter and natural flavors.
- Heavy cream: Helps loosen the butterscotch topping for smooth drizzling. Use fresh cream for an ultra rich finish.
Instructions
- Prepare the Crust:
- Crush your graham crackers until you have fine crumbs then mix them in a bowl with melted butter and sugar until you see every crumb shiny and coated. Grab a 9 inch springform pan, line the base with parchment for easy release, then firmly press your crumb mixture until you have a flat even layer. Use a measuring cup to get right into the edges. Bake at 325 Fahrenheit for about ten minutes. Remove and cool completely before pouring in your filling.
- Mix the Cheesecake Filling:
- Put your room temp cream cheese and brown sugar in a large bowl. Then beat on medium speed until the mixture is creamy with no lumps. Scrape down the sides often. Add eggs one at a time making sure they fully blend in before adding the next. Drop in your sour cream and vanilla and mix until just incorporated. Gently fold in the butterscotch chips making sure every bite will have a bit of chip goodness. Pour the batter onto your cooled crust and use a spatula to smooth the top.
- Bake in a Water Bath:
- Take your filled pan and wrap the outside tightly in foil to prevent leaks. Find a roasting pan that is bigger than your cheesecake and set the pan inside. Boil a kettle of water and pour it carefully around the springform pan until it comes halfway up the sides. Bake for about an hour. The sides should look set but the center will still wobble slightly. When time is up, turn off the oven, crack the door and leave the cheesecake to slowly cool for another hour.
- Chill the Cheesecake:
- After cooling gently outside the oven, let the cheesecake reach room temp before placing it in the fridge. It needs at least six hours to chill through which makes for the creamiest slices. I always chill mine overnight for best results.
- Make the Butterscotch Topping:
- Combine butterscotch chips and heavy cream in a small microwave safe bowl. Heat in short bursts of fifteen seconds, stirring well after each, until the chips are fully melted and you have a glossy pourable sauce. Let it cool just enough to thicken very slightly, then drizzle generously over your cheesecake before serving.
My favorite part is definitely the butterscotch chips since they melt into gooey pockets. It always reminds me of baking with my grandmother who used to sprinkle extra chips right on top so every slice tasted extra special.
Storage Tips
After enjoying a few slices, wrap any leftovers tightly in plastic or an airtight container. Stash them in the refrigerator and they will stay rich and creamy for up to five days. If you like planning ahead, freeze the cheesecake before adding the topping. When you are ready to eat, simply thaw overnight in the fridge and drizzle fresh butterscotch sauce before serving.
Ingredient Substitutions
Switch out the graham cracker crust for chocolate cookie crumbs or vanilla wafers if you prefer a twist. For a fun nutty note, try adding a handful of finely chopped pecans or almonds into the crust. If you are out of butterscotch chips, white chocolate chips add a nice sweetness though the classic flavor will change slightly.
Serving Suggestions
For a festive touch, add a swirl of whipped cream or a shower of toasted pecans on top. You can also slice up some ripe bananas or pears for a fruity element. This cheesecake stands tall as the centerpiece of any dessert table so present it proudly at birthday parties or Thanksgiving.
Cultural and Historical Context
Butterscotch originated in 19th century England as a candy made from butter, brown sugar and cream. When used as a cheesecake flavor it offers a nostalgic comfort and familiar flavors loved in American baking. The addition of butterscotch chips ramps up that traditional warmth with modern convenience.
Seasonal Adaptations
In colder months the butterscotch flavor is especially warming. For spring, add fresh berries on the side. For fall, sprinkle a little cinnamon into the crust. Let the cheesecake chill longer in hot summer months for easier slicing.
This cheesecake is always a memorable treat for special occasions or just a cozy night in. Each slice is pure delight—creamy, buttery, and blissfully decadent.
Common Questions About Recipes
- → Can I make this dessert ahead of time?
Yes, chilling enhances the flavors. Prepare 1-2 days in advance and keep covered in the fridge until ready to serve.
- → What other crusts can I use?
Swap graham crackers for chocolate cookie crumbs or vanilla wafers to complement the butterscotch flavor.
- → What if I don’t have a springform pan?
A deep pie dish works, though removal may be trickier. Line with parchment for easier serving.
- → How do I prevent cracks?
Always use a water bath and cool gradually in the oven with the door slightly open to avoid sudden temperature changes.
- → How should I store leftovers?
Keep slices in an airtight container in the fridge for up to 5 days. For longer storage, freeze without topping for up to 2 months.