 Bookmark
This no bake Biscoff cheesecake brings together the irresistible flavors of Biscoff cookies and creamy cheesecake without turning on the oven. It’s the perfect dessert for warm days or whenever you want an indulgent treat that feels fancy yet is surprisingly easy to make. The combination of a buttery Biscoff crust with the smooth, fluffy cheesecake filling infused with Biscoff spread creates a dessert that melts in your mouth.
I first made this cheesecake for a family gathering and everyone was blown away by the flavors and how smooth it turned out. Now it’s a goto dessert whenever friends drop by.
Ingredients
- Biscoff cookies: about 2 cups to make the crust offering that signature caramelized spice flavor and crunch. Choose fresh cookies for crispness
- Butter: half a cup melted to bind the crust and create a rich base. Use unsalted to control saltiness
- Cream cheese: around 16 ounces at room temperature to ensure smooth mixing and creamy texture. Full fat or Philadelphia brand works great
- Powdered sugar: one cup to sweeten the cheesecake filling without graininess
- Instant pudding: two tablespoons vanilla flavor for extra stability and smoothness in the filling
- Vanilla extract: one teaspoon to deepen the overall flavor
- Heavy cream: one and quarter cups cold for whipping into fluffy peaks that lighten the filling. Keep it chilled for best whipping results
- Sour cream: one third cup to add tanginess and a velvet mouthfeel
- Biscoff spread: half a cup mixed into the filling plus some more to spread on top and decorate with. A good quality Biscoff spread enhances authenticity
- Whole Biscoff cookies: four for decoration which gives a pretty finishing touch
Instructions
- Pulse the Cookies:
- Ground two cups of Biscoff cookies finely using a food processor. If you do not have one, place cookies in a sealed bag and crush them with a cup until the crumbs are fine and consistent for a sturdy crust base.
- Combine Crust Ingredients:
- Mix the cookie crumbs thoroughly with half a cup of melted butter in a small to medium bowl ensuring every crumb is moistened. This creates a firm and flavorful crust.
- Press Crust into Pan:
- Transfer the crust mixture into a 9inch springform pan pressing down firmly and evenly to form a compact layer. The firmness here helps the crust hold together after chilling.
- Freeze Crust:
- Place the crust in the freezer for at least 20 minutes to set while you prepare the filling. This keeps the crust firm and prevents it from becoming soggy.
- Make Cheesecake Filling:
- In a large bowl blend room temperature cream cheese, powdered sugar, vanilla instant pudding powder, and vanilla extract on medium speed until creamy and lump free. Scrape the bowl sides often to ensure smoothness.
- Add Biscoff and Sour Cream:
- Mix in half a cup of Biscoff spread along with one third cup sour cream. Blend again until the mixture is uniform and silky.
- Whip Heavy Cream:
- Add the cold heavy cream to the mixture and whip at mediumhigh speed until thick and creamy peaks form. This step lightens the cheesecake for a fluffy texture.
- Pour Filling over Crust:
- Spread the cheesecake batter evenly over the chilled crust in the springform pan. Smooth the top for a neat finish.
- Chill to Set:
- Refrigerate the cheesecake for a minimum of five hours, preferably overnight. This chilling time is crucial for the cheesecake to firm up properly.
- Decorate and Serve:
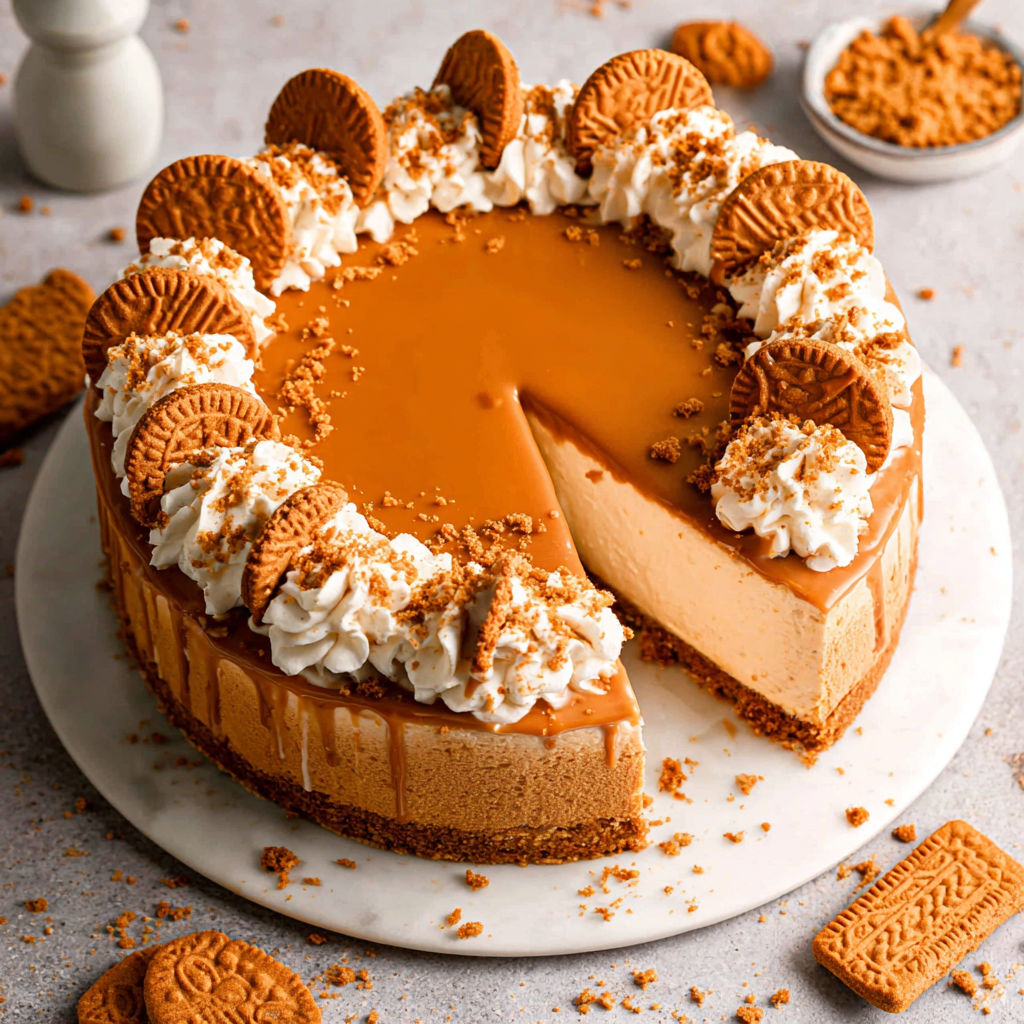
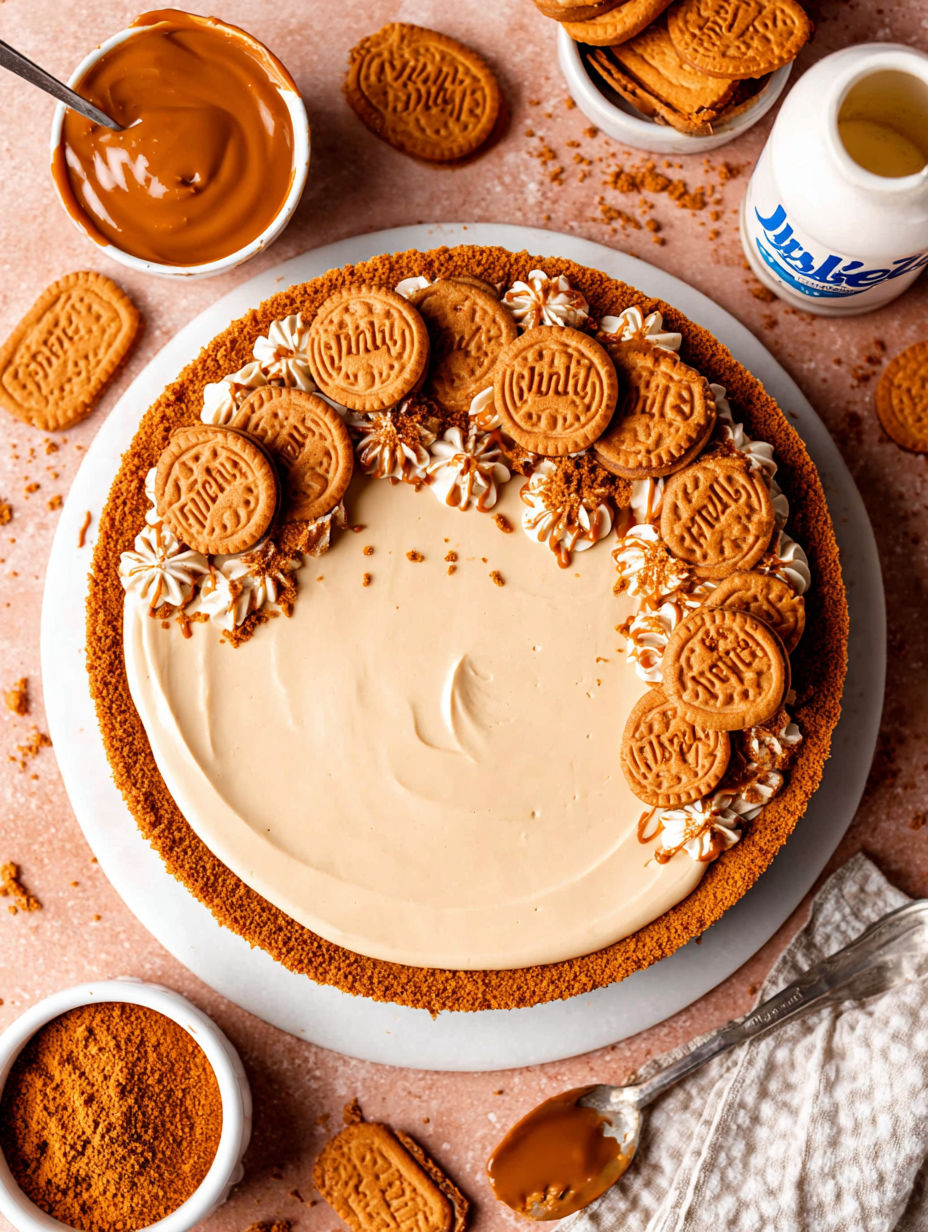
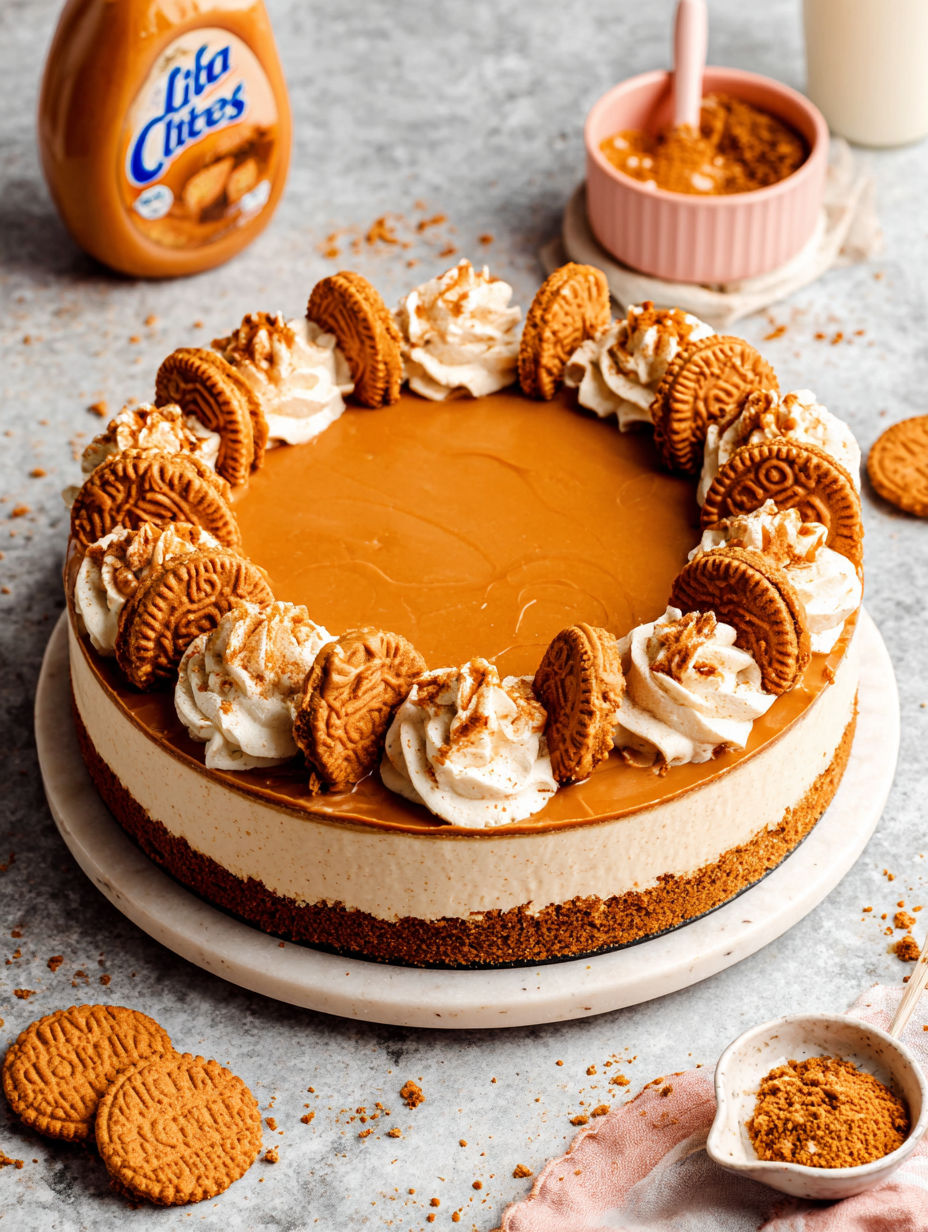
- Once set, release the cheesecake from the springform pan. Warm a small amount of Biscoff spread and spread it gently over the top using an offset spatula. Sprinkle crushed Biscoff cookies around the edges and place whole cookies for decoration before slicing and serving.

One of my favorite parts about this recipe is the Biscoff crust which adds a delightful caramelized crunch that contrasts beautifully with the creamy filling. I remember making this cheesecake for a special occasion and the moment my kids took their first bite their eyes lit up. It’s become a cherished dessert that always brings smiles.
Storage Tips
Store any leftover cheesecake covered tightly in the refrigerator and consume within four days for best texture and flavor. This cheesecake also freezes well wrapped in plastic and foil to keep out freezer burn. Thaw overnight in the fridge before serving for a perfect slice.
Ingredient Substitutions
You can swap heavy cream for whipping cream or double cream if that is what you have on hand but be sure it is cold for proper whipping. If Biscoff spread is unavailable, a good quality cookie butter from a different brand works in a pinch with a similar flavor profile. For the crust, finely crushed graham crackers or digestive biscuits can be an alternative, though it will slightly change the flavor profile.
Serving Suggestions
Serve the cheesecake plain or with a dollop of freshly whipped cream for extra indulgence. A drizzle of caramel sauce or a handful of toasted nuts complements the spice of the Biscoff beautifully. Pair with strong coffee or black tea to balance the sweetness for a perfect after-dinner treat.

This no bake Biscoff cheesecake is an easy, impressive dessert that’s perfect for warm days and gatherings. Enjoy it chilled with a cup of coffee or tea.
Common Questions About Recipes
- → How is the crust made for this cheesecake?
The crust is made by finely crushing Biscoff cookies and mixing them with melted butter, then pressed firmly into a pan to chill and set.
- → What gives the filling its creamy texture?
The filling combines room-temperature cream cheese, powdered sugar, vanilla instant pudding, Biscoff spread, sour cream, and whipped cold heavy cream, creating a rich and smooth texture.
- → Why is chilling important for this dessert?
Chilling allows the filling to firm up and the flavors to meld, giving the cheesecake stability and a smooth finish without baking.
- → Can I substitute any ingredients for dietary preferences?
You can try dairy-free cream cheese or use plant-based butter, but texture and flavor might vary from the traditional version.
- → How should this dessert be stored after preparation?
Keep it refrigerated and covered tightly to maintain freshness and prevent it from absorbing other flavors in the fridge.
