 Bookmark
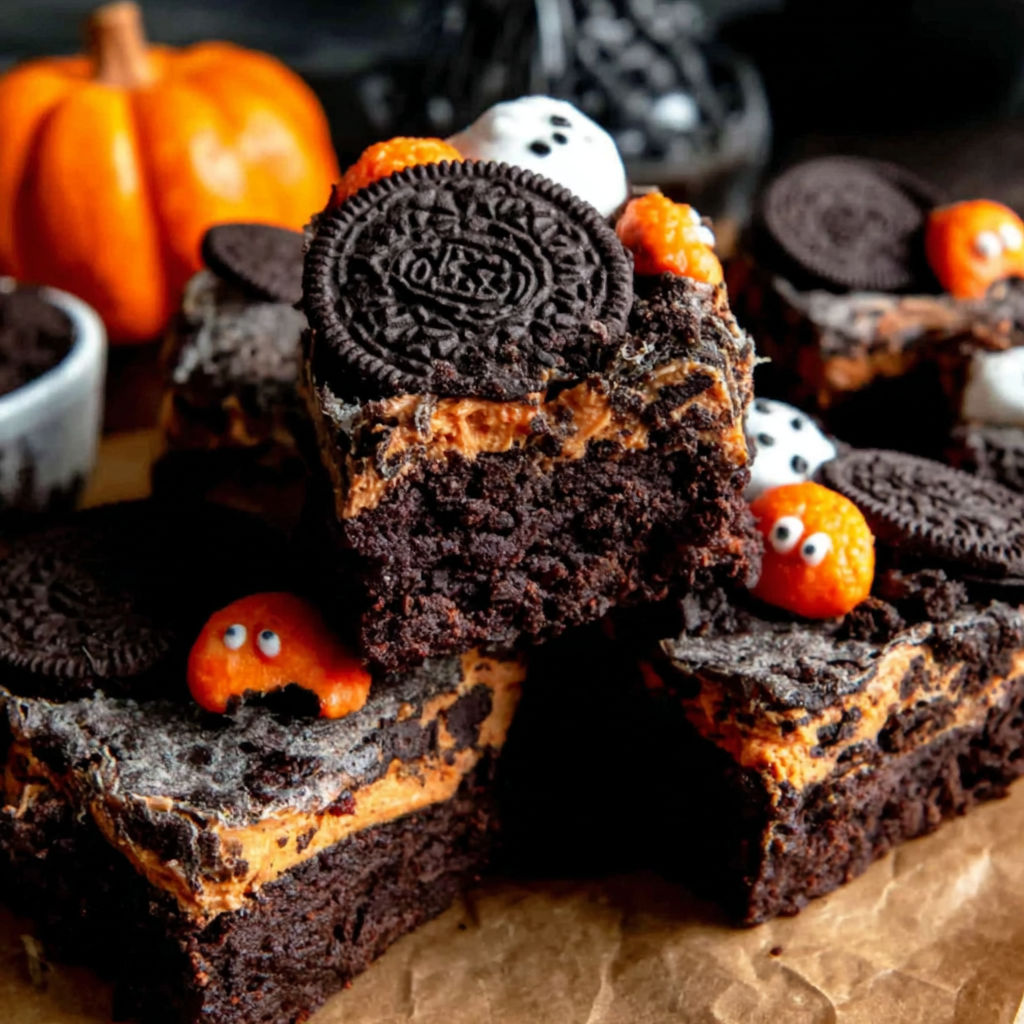
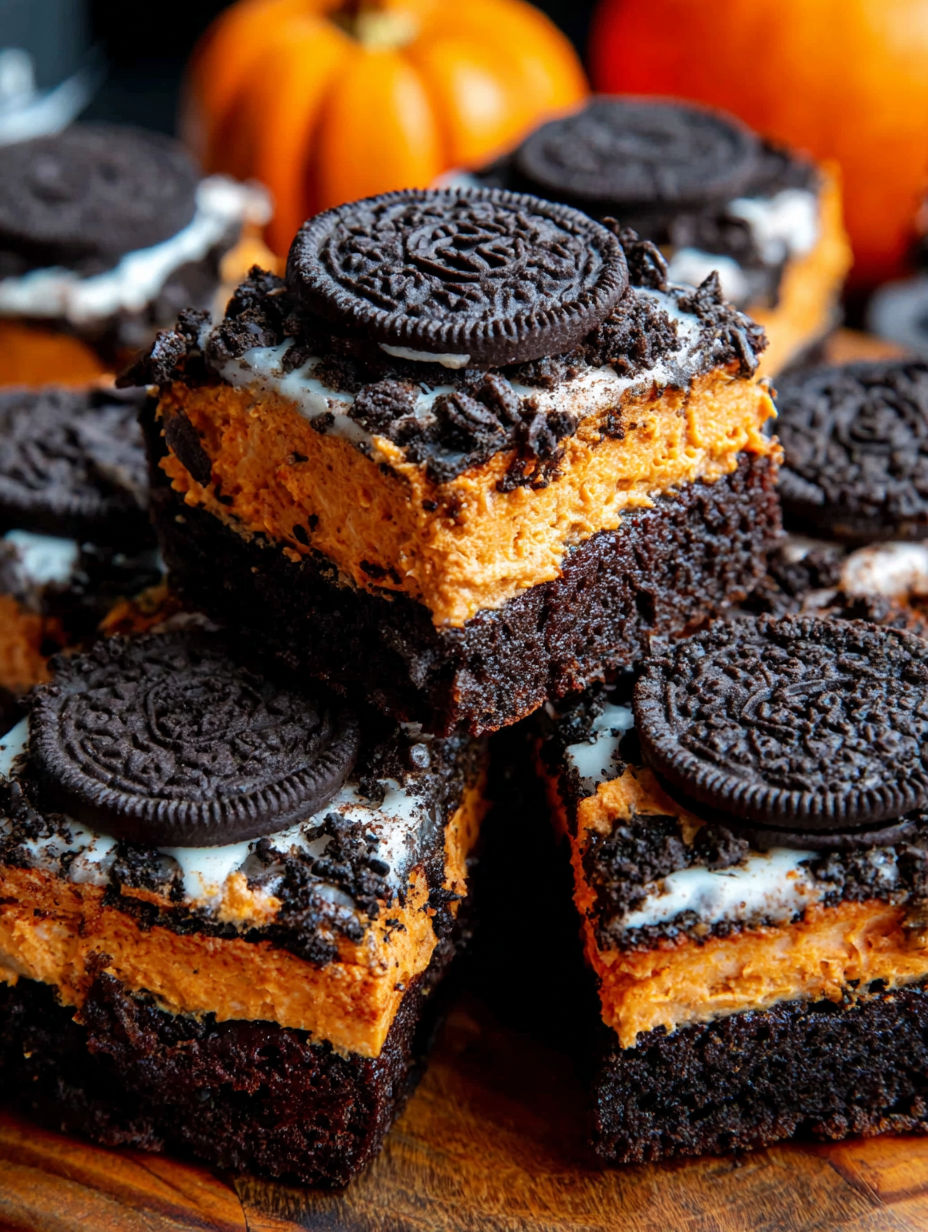
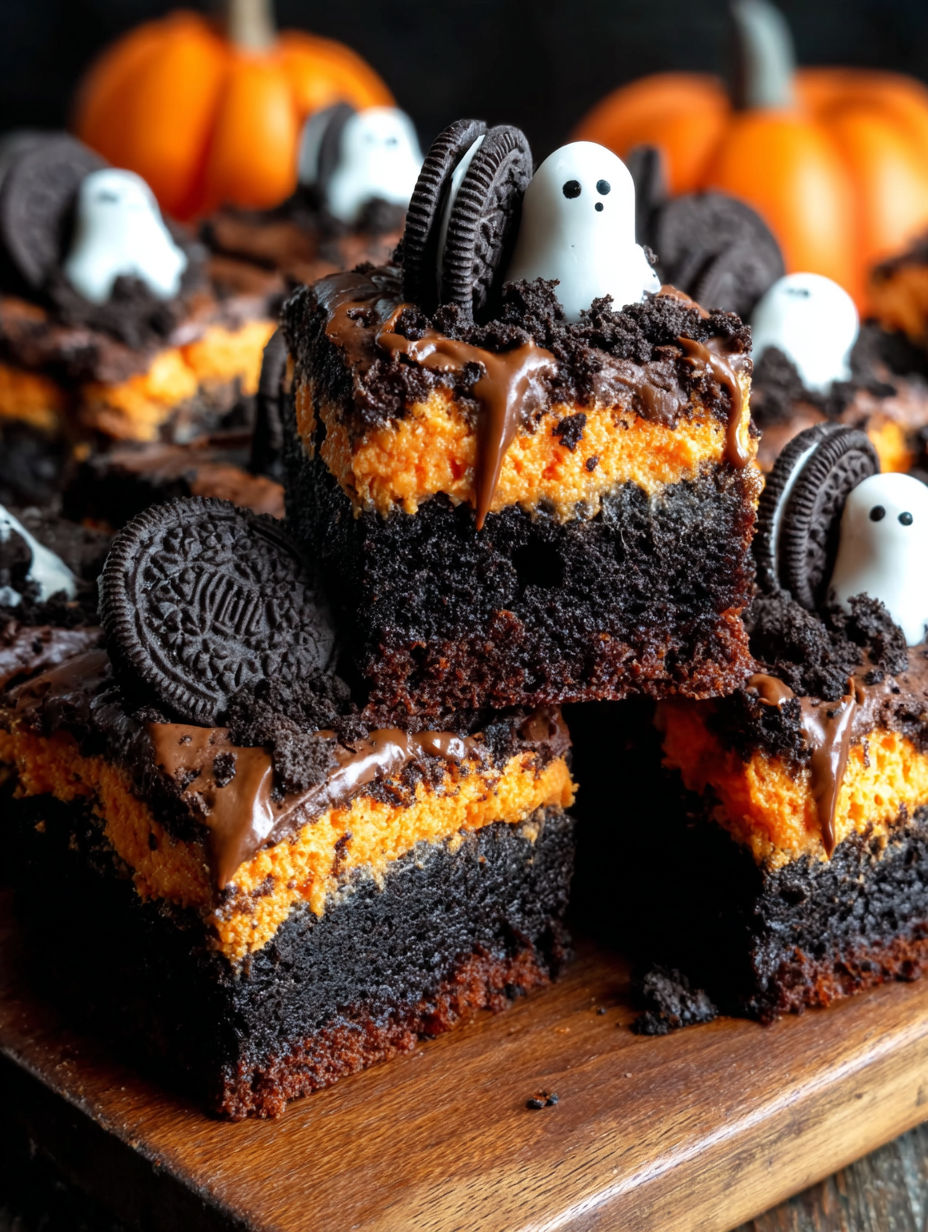
These Halloween Oreo Cookie Boo Brownies are the ultimate festive treat for your spooky season dessert table. Each bite brings a mix of dense fudgy brownie, crunchy Halloween-themed Oreos, and bursts of melting chocolate chips. The best part is the simple decoration—thanks to the festive Oreo designs, you do not need any fancy piping skills. Whether handed out at a party or packed in a holiday lunchbox, these brownies always get smiles and recipe requests. Over the years, I have made them for costume parties, school bake sales, and movie nights, and every pan disappears faster than I can slice them.
The first time I served these to my friends on Halloween night, everyone kept asking me where I got those spooky Oreos and could not believe the brownies were homemade. Now it is not October in our house without at least one batch.
Ingredients
- All-purpose flour: gives structure and helps brownies hold their shape
- Good quality unsweetened cocoa powder: brings deep chocolate flavor choose a dutched or dark cocoa for intense color
- Granulated sugar: guarantees sweet chewy brownies
- Salt: enhances the chocolate and balances sweetness use fine sea salt if possible
- Large eggs: bind everything together and make the batter glossy
- Unsalted butter: creates richness and fudginess always melt it to mix in smoothly
- Pure vanilla extract: provides a hint of warmth and rounds out flavors look for pure not imitation
- Halloween Oreos: add crunch color and whimsy seek out the seasonal ones with orange creme and spooky designs
- Chocolate chips: melt into puddles for extra fudginess use dark semi-sweet or milk chocolate to suit your taste
Instructions
- Prepare the Pan:
- Line an eight inch square or nine inch square pan with parchment paper allowing extra to hang over the edges so you can lift out the brownies later. This also prevents sticking and keeps the sides clean.
- Melt the Butter:
- Gently melt unsalted butter in a microwave safe bowl or over low heat on the stove. Let it cool slightly before mixing it in with other ingredients to avoid scrambling the eggs.
- Blend the Wet Ingredients:
- In a large bowl whisk the melted butter with granulated sugar until combined and slightly thickened. Add the eggs one at a time mixing until the batter looks glossy. Stir in pure vanilla extract for that cozy bakery aroma.
- Add the Dry Ingredients:
- Sift in the all-purpose flour cocoa powder and salt right over the wet mixture. Fold everything together with a spatula scraping the sides and bottom so you do not miss dry spots. This helps ensure dense chewy brownies.
- Fold in the Mix-ins:
- Roughly chop half the Halloween Oreos and gently fold them along with chocolate chips into the batter. This adds both flavor and little pockets of crunch and chocolate in every bite.
- Fill the Pan and Decorate:
- Spread the thick batter evenly into the prepared pan. Nestle whole Halloween Oreos with the designs facing up over the top pressing lightly so they stand out after baking.
- Bake and Test for Doneness:
- Bake in a preheated oven at three hundred fifty degrees Fahrenheit. Begin checking at around thirty minutes by inserting a toothpick near the center avoiding chocolate chips or Oreos which can give a false reading. Look for a few moist crumbs no wet batter.
- Cool and Slice:
- Let the brownies cool completely in the pan then lift out using the parchment. For super clean slices chill the whole slab in the refrigerator for an hour then use a large chef knife cleaned between cuts to slice into bars.

My favorite part is carefully placing the whole Halloween Oreos with their pumpkin and ghost faces front and center. Watching my kids choose their brownie piece based on the cookie design always cracks me up. Last year my daughter requested these instead of birthday cake.
Storage Tips
Once cooled store brownies tightly wrapped at room temperature for up to four days. They keep their fudginess well. For extra chew or if your kitchen is warm refrigerate them. If you want to freeze place cut bars in a single layer on a tray until firm wrap individually with plastic then stash in a freezer bag for up to two months. Eating brownies cold from the freezer is a surprisingly delicious treat.
Ingredient Substitutions
No Halloween Oreos available Any limited edition Oreo or even classic chocolate creme works. Dairy-free option Use vegan butter and dairy-free chocolate chips. Boost richness Swap a tablespoon of flour for extra cocoa powder for ultra dark brownies. If you are a peanut butter lover fold some peanut butter baking chips or swirl a few spoonfuls into the batter before baking.
Serving Suggestions
Brownies look festive on a Halloween dessert board along with caramel apples and popcorn balls. Try cutting them smaller than usual and serving as brownie bites in mini cupcake papers. For extra decadence top warm pieces with a scoop of vanilla or pumpkin ice cream. These are a guaranteed hit for movie marathons and Halloween party tables.
Cultural Fun Facts
Halloween Oreos first appeared in the late nineties and quickly became a seasonal staple across the US. The orange filling and spooky designs change a bit each year so each batch feels extra special. Making holiday treats with my family is one of my favorite October rituals and these brownies always land on our must-make list.
Seasonal Adaptations
Winter Use peppermint or holiday Oreos with green creme and snowflake designs. Spring Swap in carrot cake or lemon Oreos and pastel sprinkles. Summer Top with mini marshmallows and serve as brownie s'mores bars. The only limit is what Oreos you can find and what celebrations are coming up.
Success Stories
The first year I made these for a classroom Halloween party not only were the kids thrilled but several parents emailed me asking for the recipe. Last October a neighbor dropped off a pan after I shared a batch and wrote it was the best treat of their whole spooky season.
Freezer Meal Conversion
This recipe freezes beautifully both as an uncut slab and in individual bars. Before a busy week or a party I often bake and wrap brownies ahead of time then move them to the fridge overnight to thaw. The cookies hold up remarkably well and the chocolate flavor deepens over time.

Whip up a batch of these Boo Brownies and let the spooky Oreos make your dessert the talk of Halloween. With minimal fuss and maximum flavor, they're sure to vanish in a flash.
Common Questions About Recipes
- → How do I ensure the brownies stay fudgy?
Avoid overbaking by monitoring closely and testing in multiple spots. Remove from the oven when just set for a moist, chewy center.
- → Why use parchment paper for the pan?
Parchment paper allows for easy removal and clean edges, minimizing sticking and helping brownies retain their shape when sliced.
- → What’s the best way to add the Oreo cookies?
Mix chopped Oreos into the batter and arrange some whole cookies on top with their festive designs upward for a striking look.
- → How can I achieve clean brownie slices?
Chill the brownies, use a sharp chef’s knife, and wipe it clean after each cut for neat, professional-looking squares.
- → Can these brownies be frozen for later?
Yes, store leftovers in an airtight container in the freezer. Enjoy them chilled for a deliciously firm and chewy texture.
- → Are extra decorations required?
No extra decorating is needed—Oreo cookies with Halloween designs provide a festive touch all on their own.
