
 Bookmark
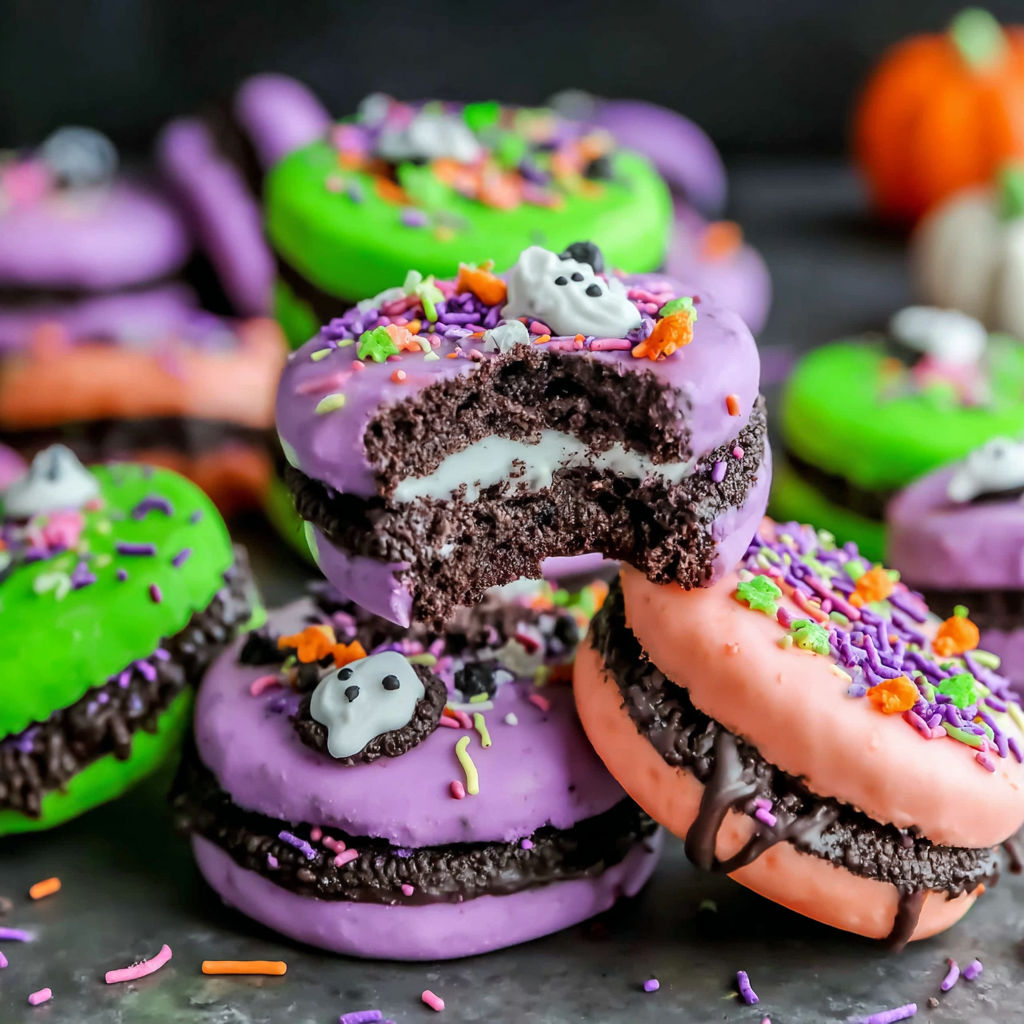
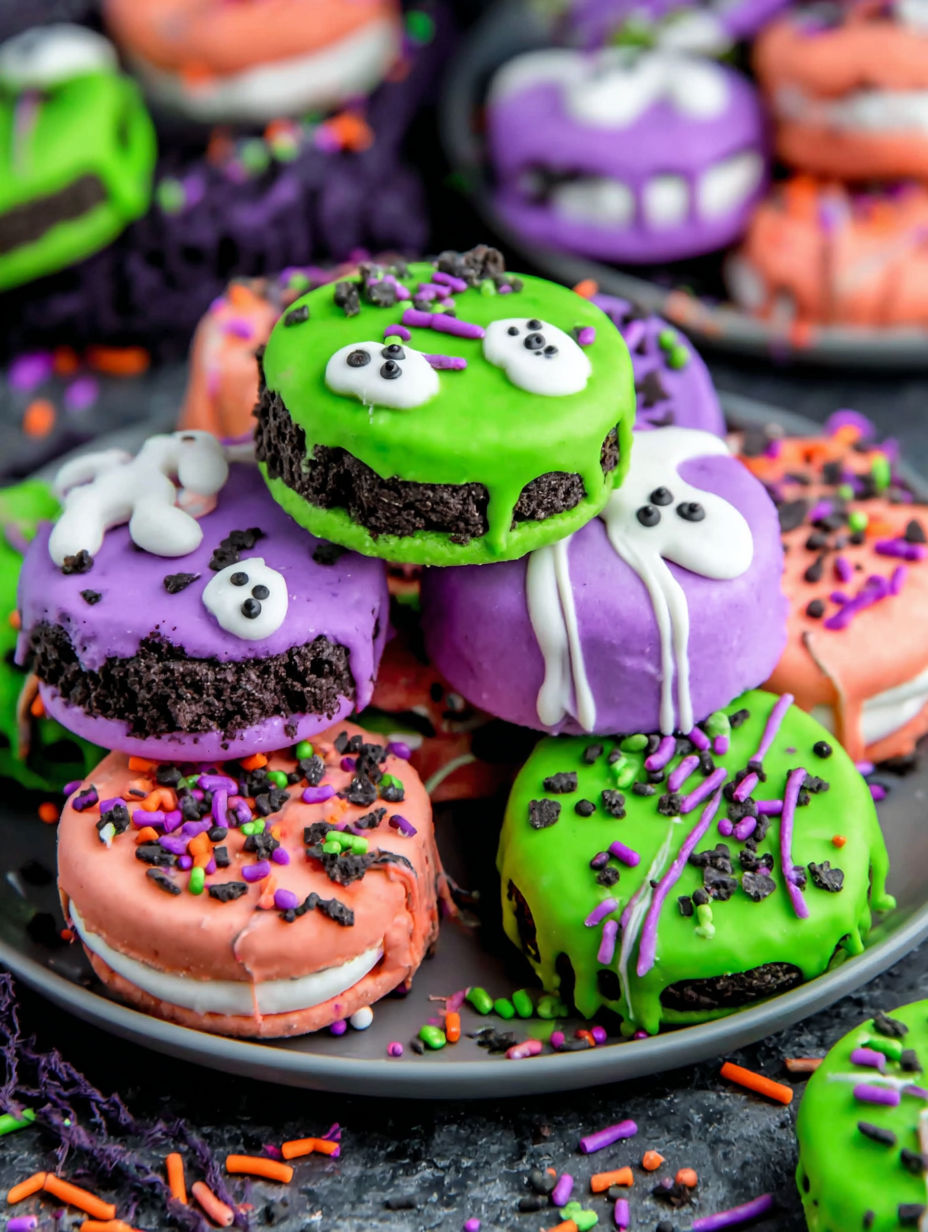
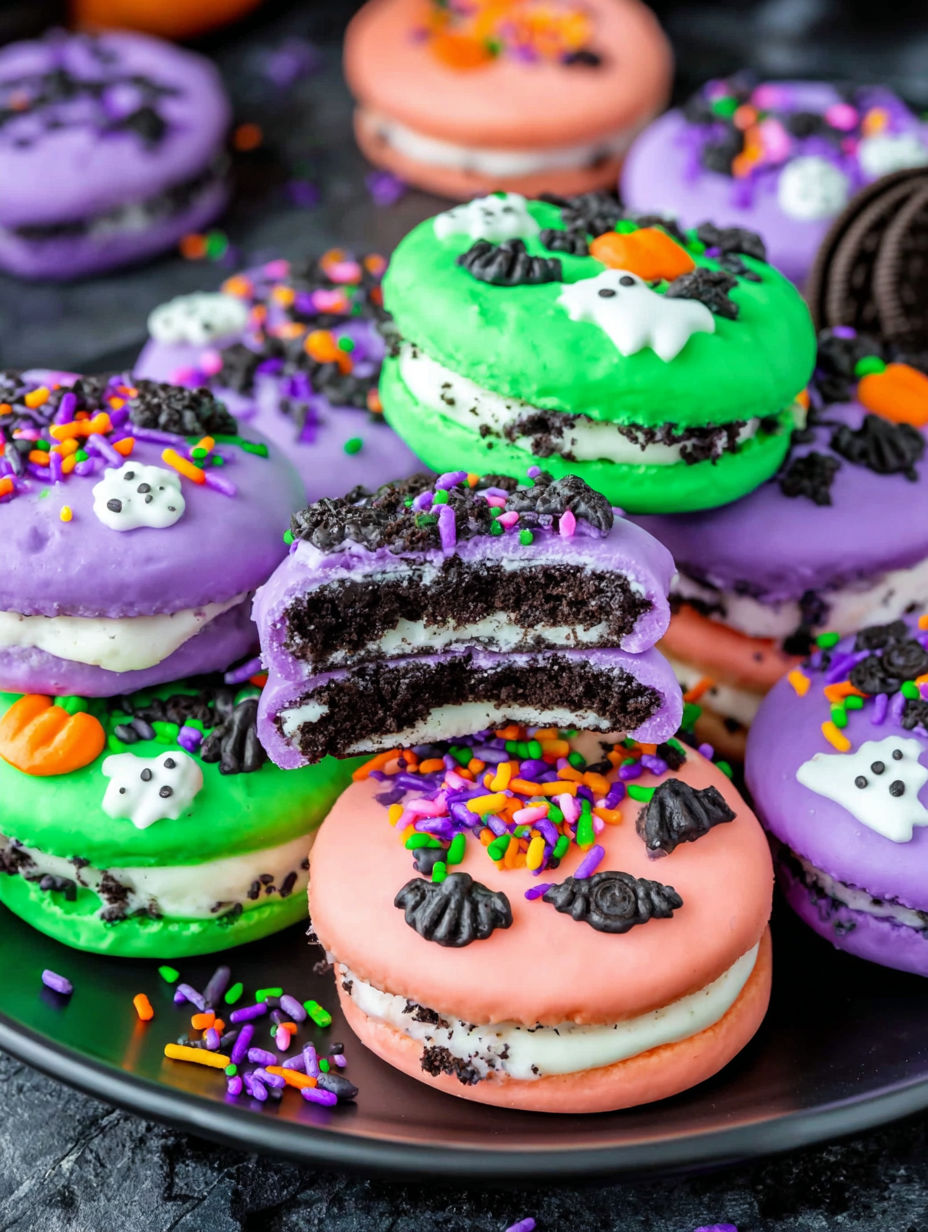
These colorful chocolate-dipped Oreos are one of the easiest Halloween treats you can make with kids. Just three colors of melting chocolate and some spooky sprinkles transform regular Oreos into festive Halloween party food. No baking is required, making this a quick and fun way to bring a homemade touch to your Halloween celebrations. The vibrant orange green and purple coating instantly adds a festive vibe, making them look like they came from a fancy bakery.
I first made these Oreos with my niece, and she loved getting creative with the sprinkles. Now it's a favorite tradition to make them every Halloween.
Ingredients
- Oreos: twelve cookies the classic sandwich cookie is sturdy and holds up well in the coating
- Melting wafers: purple green and orange melting wafers each color adds a bright festive look choose good quality candy melts for smooth coating
- Halloween sprinkles: a mix of bats pumpkins ghosts and candy eyeballs make the Oreos spooky and fun to decorate Tips for sprinkles choose ones that are dry and free from clumps for the best finish
Instructions
- Spoon One:
- Line a baking sheet with parchment paper or a silicone mat. Separate the Halloween sprinkles into small bowls so they are easy to reach.
- Spoon Two:
- Place the purple green and orange melting wafers each in separate microwave-safe bowls.
- Spoon Three:
- Microwave each bowl individually in thirty-second bursts stirring well after each interval until the chocolate is fully melted and smooth This ensures even melting and prevents burning.
- Spoon Four:
- Using a fork or dipping tool dip each Oreo into one melted coating covering it completely Allow excess chocolate to drip off before placing it on the prepared baking sheet This step helps avoid thick clumps of coating.
- Spoon Five:
- Dip four Oreos in purple four in green and four in orange to make a colorful assortment.
- Spoon Six:
- While the coating is still wet generously sprinkle Halloween decorations over the Oreos Be creative to make each one unique and festive.
- Spoon Seven:
- Let the Oreos set at room temperature until the coating hardens this takes about thirty minutes to one hour Alternatively refrigerate them for about fifteen minutes to speed the setting process.
- Spoon Eight:
- Once the coating is firm arrange your Oreos on a festive plate or store them in an airtight container until you are ready to serve.
I adore the orange candy melts because they capture that classic Halloween pumpkin vibe perfectly. These Oreos always remind me of the first Halloween party where my kids proudly served them to all their friends. The smiles made every step worth it.
Storage Tips
Store these chocolate-covered Oreos in an airtight container to keep them fresh and crunchy. They can last up to a week at room temperature but if you want to extend their life move the container to the refrigerator. Avoid stacking Oreos directly on top of each other without separation to prevent sticking and breakage. Use parchment paper between layers if needed.
Ingredient Substitutions
If purple green or orange candy melts are hard to find you can use white melting wafers and add food coloring to tint them yourself. Another option is to use colored chocolate bark available in craft or baking stores. For sprinkles you can substitute with any festive Fall themed toppings such as edible glitter or crushed candy pumpkins.
Serving Suggestions
These Halloween Oreos make a great addition to party dessert tables or gift boxes during spooky celebrations. Pair them with a warm cup of apple cider or hot chocolate for a cozy fall treat. They also work well as festive snacks at school parties or community events. Present them on decorative plates or in clear cellophane bags tied with ribbon.
Have fun decorating these festive Oreos and serve them at room temperature or chilled. They're an easy colorful treat that everyone will love.
Common Questions About Recipes
- → What chocolate types work best for coating Oreos?
Melting wafers or candy melts in various colors melt smoothly and coat the Oreos evenly without overpowering the cookie flavor.
- → How to prevent dipped Oreos from sticking to the baking sheet?
Line the baking sheet with parchment paper or a silicone mat before placing coated Oreos to ensure they don’t stick as the chocolate sets.
- → Can I make these treats ahead of time?
Yes, once the coating hardens, store the decorated Oreos in an airtight container to keep them fresh for several days.
- → What sprinkles are recommended for Halloween Oreos?
Choose seasonal sprinkles like bats, pumpkins, ghosts, eyes, or other spooky shapes to add festive character and texture.
- → How long does the chocolate coating take to set?
Let the coating dry at room temperature for 30 minutes to an hour, or refrigerate for approximately 15 minutes to speed up the process.