
 Bookmark
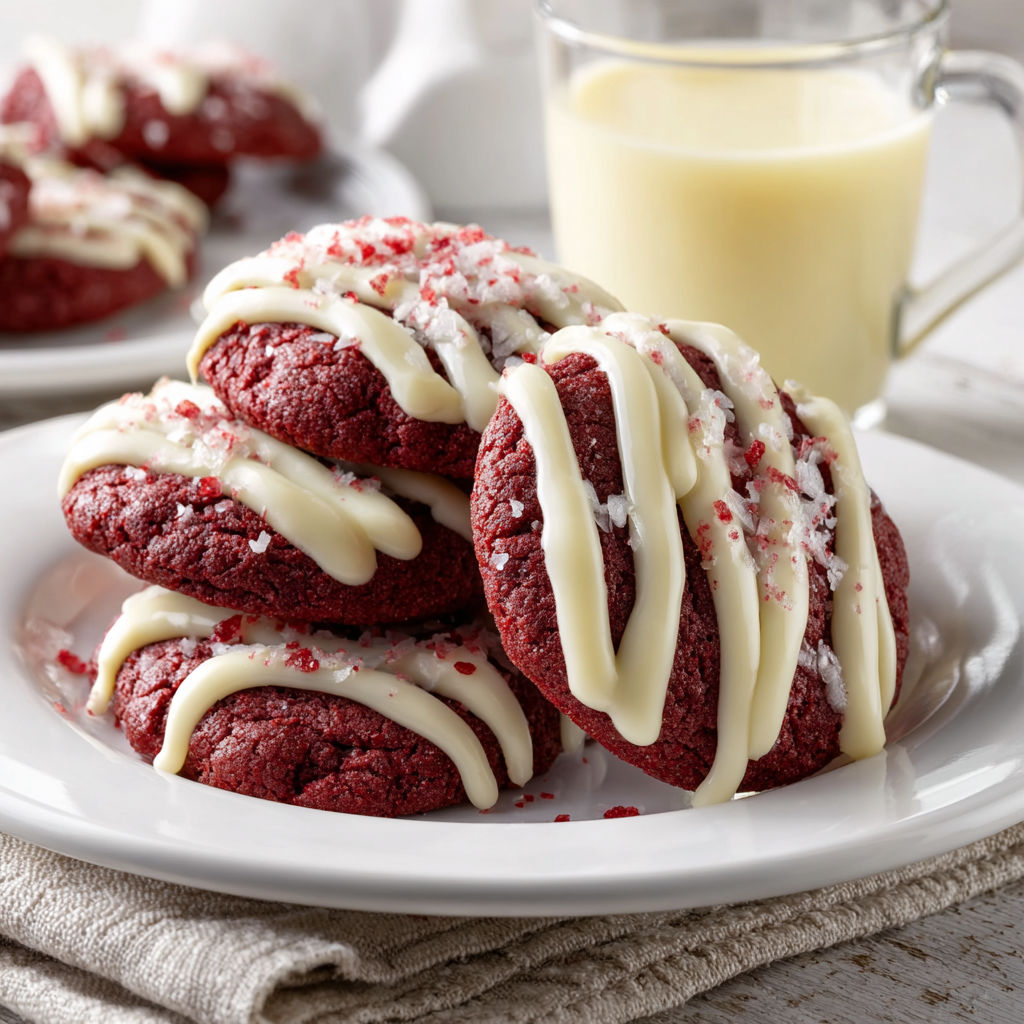
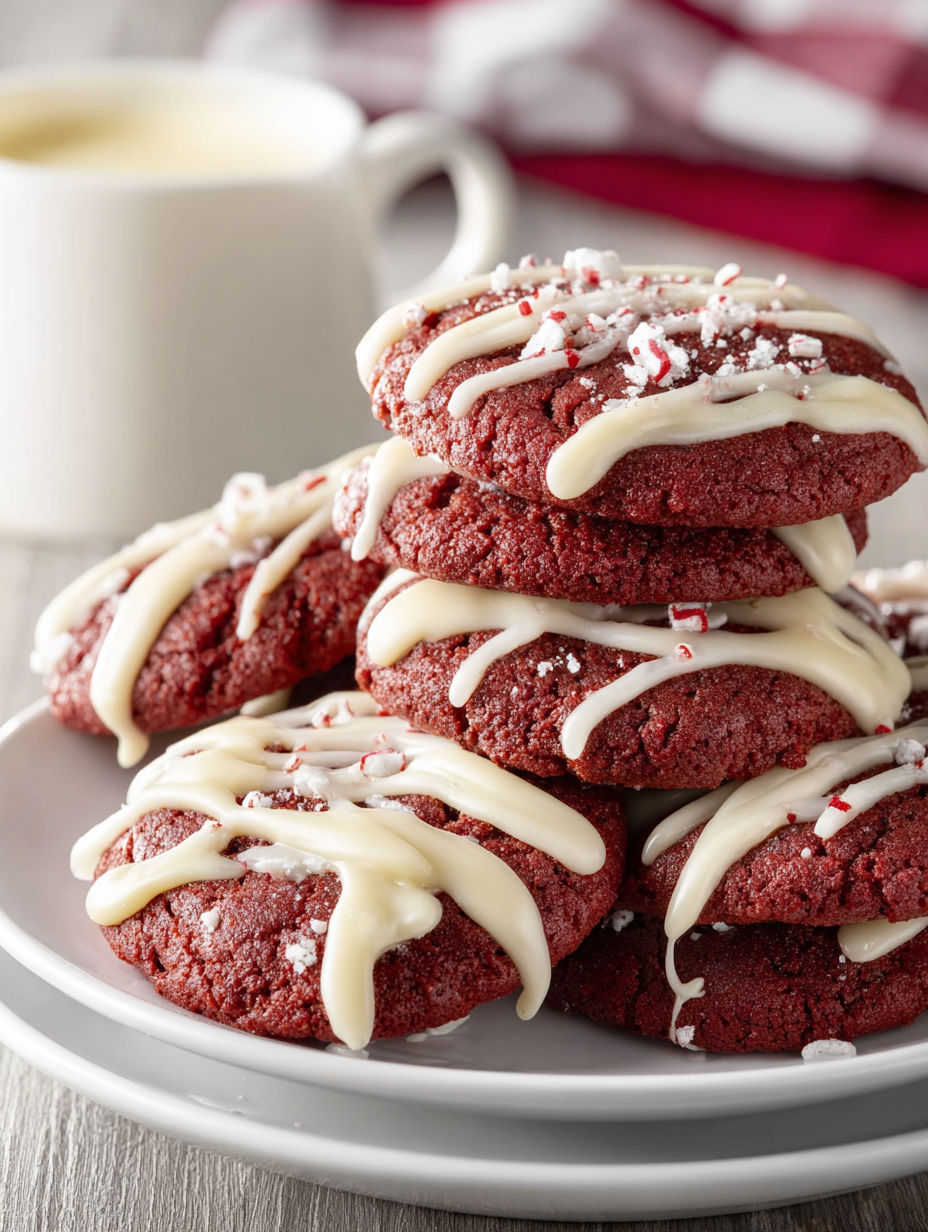
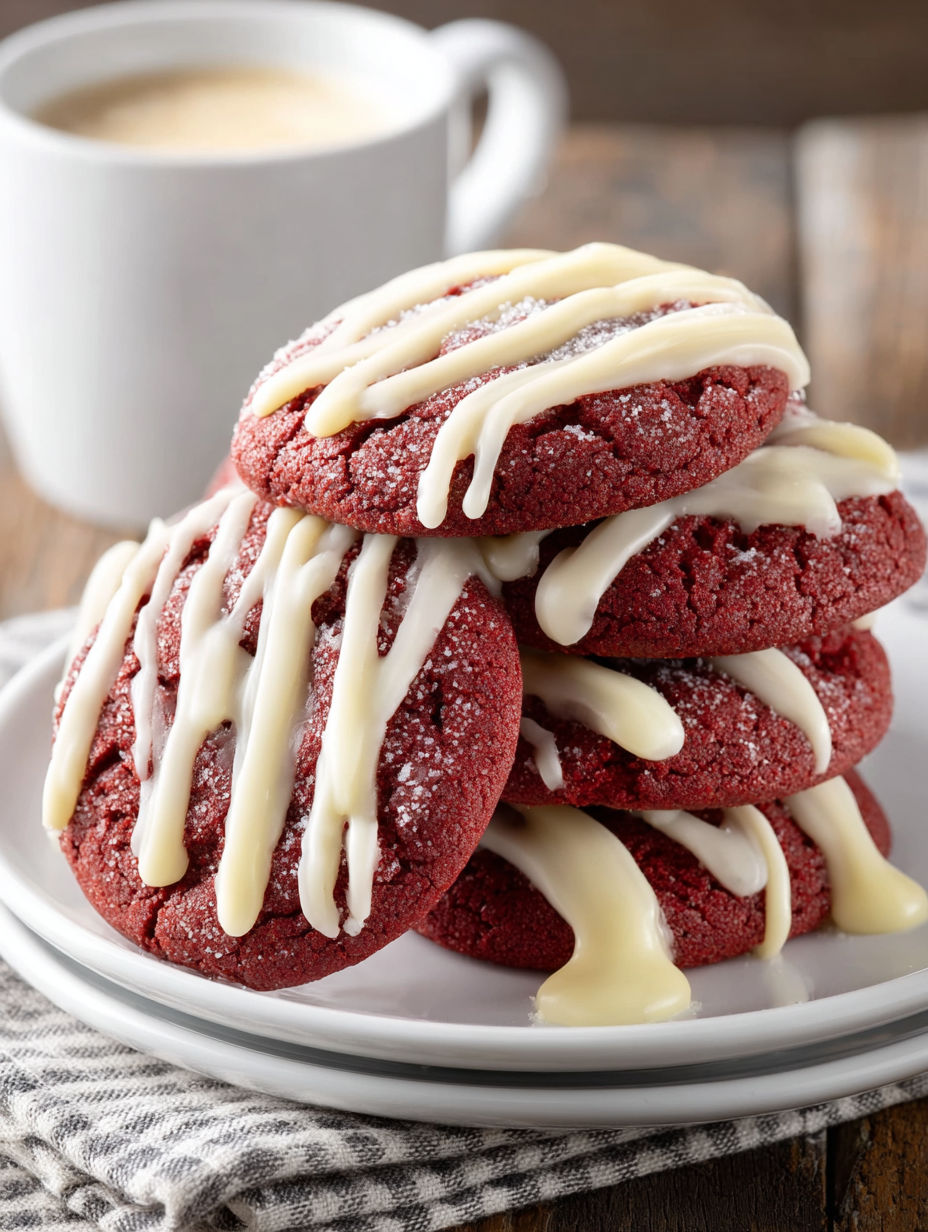
These red velvet cookies with cream cheese glaze bring a perfect balance of rich cocoa flavor and creamy sweetness, making them a delightful treat for any celebration or cozy night in. The tender texture of the cookies paired with the tangy cream cheese glaze creates a festive and comforting bite that’s hard to resist. I first made this recipe with my college roommates on Valentine’s Day and found that the bright red color and luscious glaze made the kitchen feel full of warmth and fun every time.
I love how adaptable this recipe is. When I’m in a pinch, I adjust the glaze thickness to make the cookies look extra pretty or keep them more rustic and cozy.
Ingredients
- Allpurpose flour: to create a tender, sturdy cookie base look for fresh, high quality flour for the best texture
- Unsweetened cocoa powder: to give the rich chocolate note Dutch processed works beautifully here
- Baking soda: to help the cookies rise slightly and spread properly
- Salt: enhances the chocolate flavor without overpowering the sweetness
- Unsalted butter: softened for creamy mixing and rich flavor choose good quality butter for the best taste
- Light brown sugar: for moistness and a subtle caramel note
- Granulated sugar: balances sweetness and helps with the cookie structure
- One large egg: adds moisture and binds the ingredients
- Whole milk: adds tenderness to the dough
- Red food coloring: to achieve the iconic red velvet appearance choose a gel or liquid brand that is vibrant and food safe
- Pure vanilla extract: enhances all flavors and adds depth
- White vinegar: brightens the red tone and tenderizes the cookie texture
- For the cream cheese glaze:
- Cream cheese: softened for tanginess and smooth texture full fat gives richness
- Unsalted butter: softened to blend easily and add silkiness
- Powdered sugar: for sweetness and smooth, glossy finish
- Pure vanilla extract: to round out the glaze flavor
- Whole milk: to thin the glaze to the perfect drizzle consistency
Instructions
- Prep the Dry Ingredients:
- In a medium mixing bowl thoroughly whisk together the flour, cocoa powder, baking soda, and salt. Make sure the cocoa is well distributed to avoid uneven chocolate flavor pockets in the cookies.
- Cream Butter and Sugars:
- In a separate large bowl beat the softened butter with both the light brown sugar and granulated sugar using a hand mixer or stand mixer. Whip on medium speed for several minutes until light and fluffy. This step is crucial as it traps air, helping the cookies rise gently and yielding a tender crumb.
- Add Wet Ingredients and Color:
- Add in the egg and beat until fully blended. Then add milk, red food coloring, vanilla extract, and white vinegar. Mix just until combined. The vinegar works its magic by enhancing that classic red hue and lifting the texture of the cookies.
- Combine Wet and Dry Ingredients:
- Gradually add the flour mixture to the wet ingredients. Stir gently just until no dry streaks remain. Overmixing will develop gluten and toughen the cookies, so be gentle and patient.
- Shape and Bake the Cookies:
- Preheat your oven to 350 degrees Fahrenheit or 175 degrees Celsius. Line a baking sheet with parchment paper to prevent sticking and ensure even baking. Using rounded tablespoons of dough drop them onto the baking sheet spaced about two inches apart. Bake for approximately 10 to 12 minutes. The cookies should look set along the edges but still slightly soft in the centers. Let the cookies cool on the baking sheet for five minutes before transferring them to a wire rack to cool completely.
- Prepare the Cream Cheese Glaze:
- In a small bowl beat together the softened cream cheese and butter until smooth and creamy. Gradually add powdered sugar and vanilla extract mixing continuously. Add milk slowly a few tablespoons at a time until the glaze reaches a drizzle friendly consistency.
- Glaze and Serve:
- Either drizzle the glaze over the cooled cookies with a spoon or spread it gently for a rustic look. Let the glaze set for at least 10 to 15 minutes so it firms slightly before serving.
I always look forward to making these during holidays because the bright red color never fails to lift spirits. The cream cheese glaze is my favorite part it adds a luscious tang that cuts through the sweetness perfectly making every bite feel just right.
Storage Tips
Store the cooled cookies in an airtight container for up to three days at room temperature without the glaze or refrigerate if glazed for up to five days. For the glaze to stay fresh and creamy store the cookies in a single layer to avoid smudging. Cookies can also be frozen once baked and cooled wrap them tightly and place in a freezer safe bag or container for up to three months and thaw at room temperature before glazing or serving.
Ingredient Substitutions
For natural red coloring substitute red food coloring with beet juice concentrate use one tablespoon to achieve a vibrant red color with a subtle earthy undertone. Replace allpurpose flour with a gluten free 1 1 baking blend to make the cookies suitable for gluten sensitivity. Use vegan cream cheese and plant based butter for the glaze to make this recipe dairy free and vegan friendly without compromising on creaminess or flavor.
Serving Suggestions
These cookies are beautiful plated with a dusting of powdered sugar or a few fresh berries for a festive touch. They pair wonderfully with a cup of hot cocoa or a glass of cold milk and make a lovely addition to a themed dessert spread.
These red velvet cookies are festive and crowd pleasing. They also freeze well for easy make ahead treats.
Common Questions About Recipes
- → What gives the cookies their red color?
The vibrant red color comes from red food coloring, but natural alternatives like beet juice concentrate can be used for a subtle earthy hue.
- → How can I make the glaze smooth and easy to spread?
Ensure cream cheese and butter are at room temperature before beating. Gradually add milk to reach the desired drizzling consistency.
- → Why is vinegar added to the dough?
Vinegar enhances the red color by reacting with baking soda and slightly lightens the cookie’s texture for softness.
- → What’s the best way to prevent cookies from spreading too much during baking?
Chilling the dough for 30 minutes before baking helps intensify flavor and reduces spreading for a thicker cookie.
- → Can I make these cookies gluten-free or vegan?
Yes, use gluten-free 1:1 baking flour for gluten-free cookies and substitute vegan cream cheese and plant-based butter for dairy-free options.
- → How do I know when the cookies are done baking?
Bake until edges are set but centers remain slightly soft. Residual heat will finish cooking while keeping them tender.