
 Bookmark
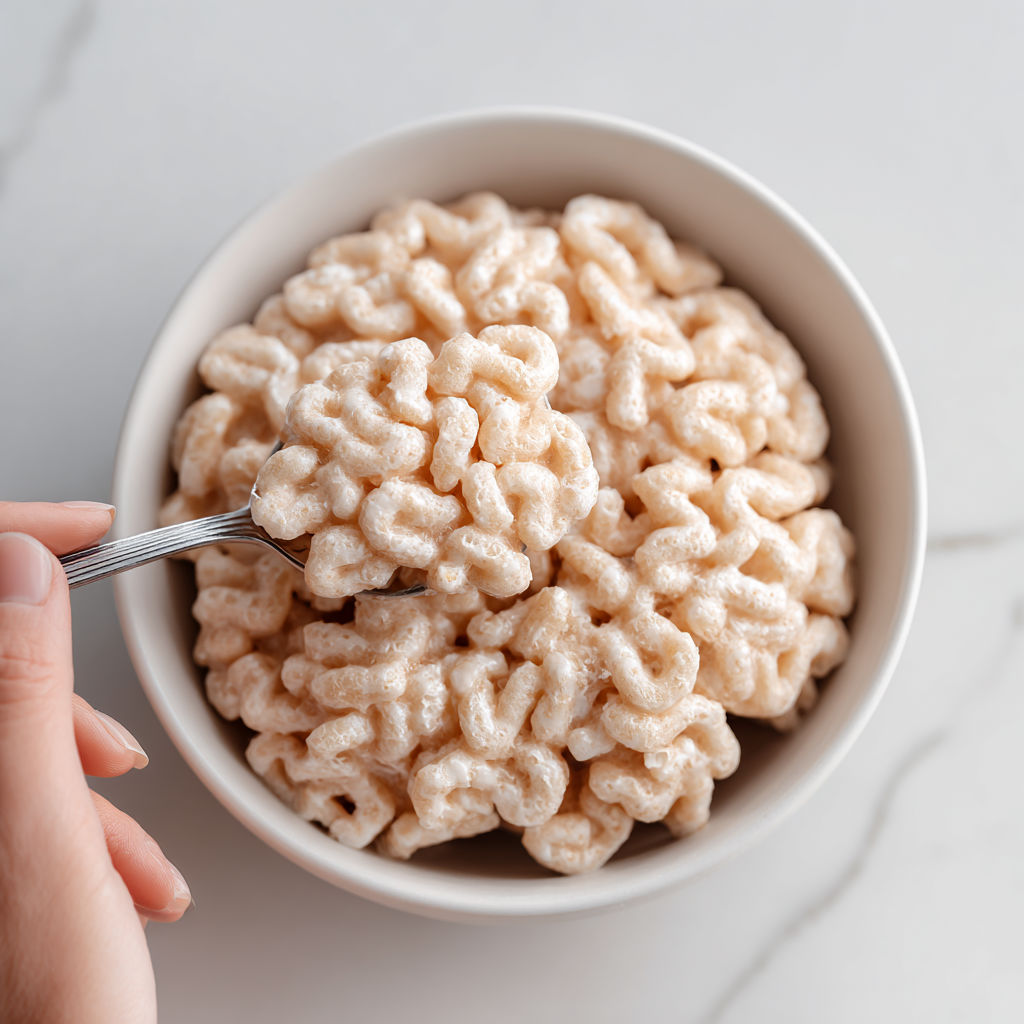
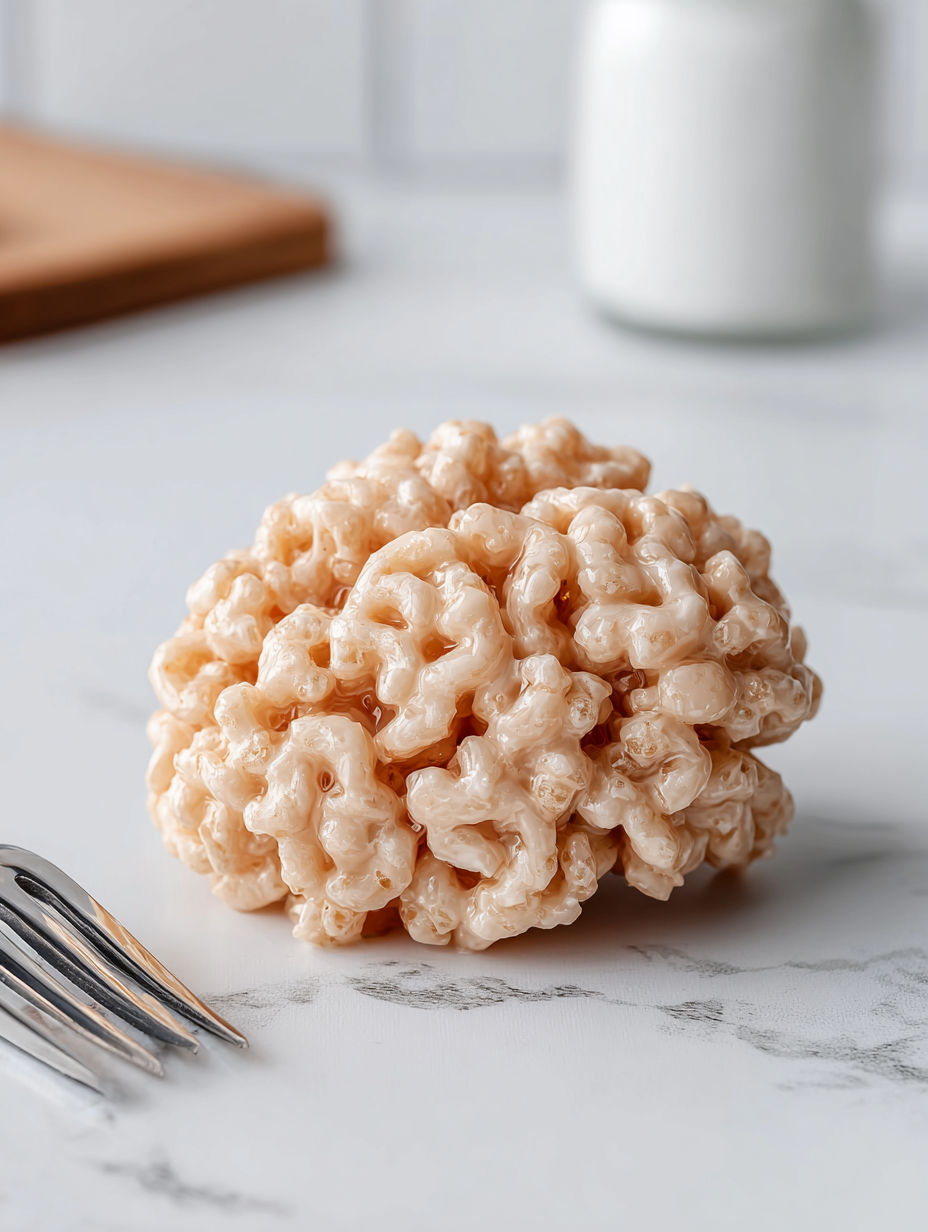
These Rice Krispie brains are a fun and easy nobake treat that adds a playful twist to any Halloween celebration. Made with simple ingredients like mini marshmallows and crisp Rice Krispies cereal, they come together quickly and can be easily shaped into spooky, brainlike forms using just your hands and a little butter. This recipe brings out creativity without fuss and is perfect for making memories in the kitchen with kids or friends.
I first made these during a Halloween afternoon full of kitchen experiments with my daughter, and they instantly became a favorite way for us to bond while creating silly snacks.
Ingredients
- Three tablespoons unsalted butter: this melts smoothly to bind the mixture without overpowering flavor choose fresh and creamy butter for best results
- One 10ounce bag of mini marshmallows: they melt effortlessly and give that classic sticky sweetness
- Five cups Rice Krispies toasted rice cereal: provides the signature crunch and light texture opt for fresh cereal to avoid sogginess
- Pink food coloring: optional but it gives the classic eerie brain hue use gel colors for vibrant results without watering down the mixture
- Additional unsalted butter for your hands: prevents sticking and helps in shaping the treats
Instructions
- Melt the Butter:
- In a large nonstick saucepan, place the unsalted butter over medium-low heat. Gently swirl the pan now and then to help the butter melt evenly and avoid browning. This slow melting process creates the ideal rich base for your treats.
- Melt Marshmallows:
- Add the mini marshmallows to the melted butter, stirring constantly with a heat resistant spatula. Keep the temperature low to ensure the marshmallows melt into a thick, glossy, smooth mixture. Be careful not to let it brown, as that will affect both taste and texture.
- Add Food Coloring:
- If you want lifelike pinkish brains, add the food coloring one drop at a time. Stir the mixture thoroughly after each addition to distribute the color evenly, watching the tone carefully so it looks just right.
- Incorporate Rice Krispies:
- Remove the saucepan from heat and immediately fold in the Rice Krispies cereal with a spatula. Stir carefully but swiftly to coat every bit of the cereal with the marshmallow mixture, trying not to crush the cereal. This keeps your treats airy and crunchy.
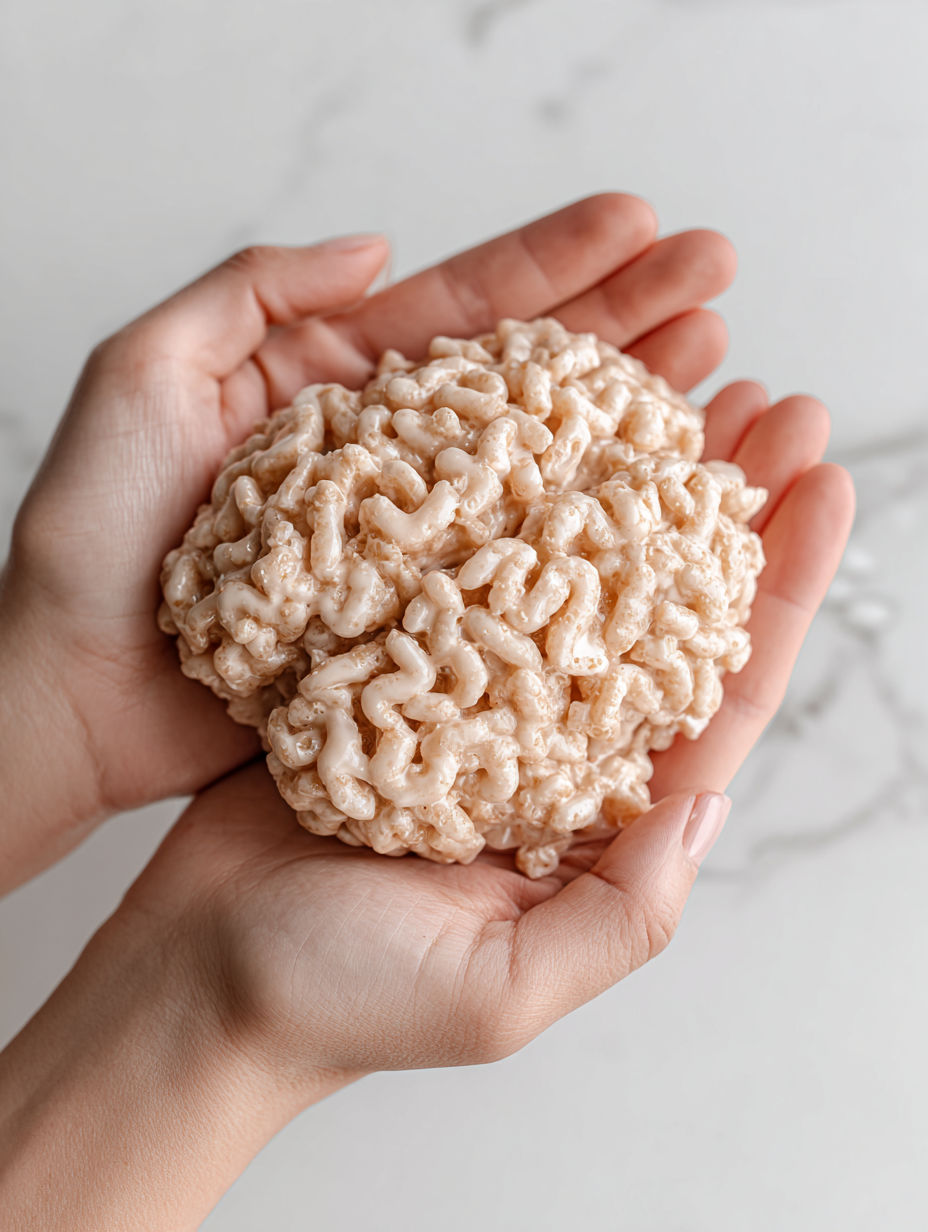
- Shape the Brains:
- Generously butter your hands to stop the sticky mixture from clinging. While the mixture is warm but manageable, scoop out portions and mold them into oval shapes resembling brains. Use your fingers to press in grooves and folds, creating realistic ridges and texture. If you like, a butter knife or the back of a spoon enhances these details wonderfully.
My favorite part about this recipe is how the pink food coloring brings the brains to life. It's a small addition that makes a huge difference in creep factor. Every year when I make these, it brings back the laughter and mess of that first Halloween kitchen adventure with my daughter. It's a tradition I look forward to continuing.
Storage Tips
Keep the shaped brains in a tightly sealed container at room temperature to preserve their chewy texture for up to two days. Avoid refrigeration because it makes the marshmallow mixture hard and less pleasant to eat.
Ingredient Substitutions
If you prefer dairy-free treats, refined coconut oil works beautifully in place of butter, lending a slight tropical aroma and a glossy finish. For coloring, concentrated beet juice offers a natural pink tint without artificial ingredients.
Serving Suggestions
Try piping small veins using red gel icing to increase the spooky effect or drizzle melted white chocolate over the brains for a contrasting look and added sweetness. Present them on a black platter with edible glitter or candy eyes for an impressive Halloween spread.
They are a tradition I look forward to continuing. Enjoy them fresh for best texture.
Common Questions About Recipes
- → Why are my Rice Krispie brains too hard or crunchy?
Overheating the marshmallow and butter mixture or packing the cereal too tightly can cause firm textures. Mix gently and shape while soft for best results.
- → How can I prevent sticking when shaping?
Generously butter your hands before shaping and reapply as needed to keep the mixture manageable and prevent sticking.
- → Is food coloring necessary?
No, it’s optional. Using pink food coloring or natural beet juice adds a lifelike color, but leaving them plain results in a subtle look.
- → Can these be prepared in advance?
Yes, shaping the mixture the day before and storing in an airtight container helps retain texture and freshness.
- → Are there alternatives to butter for shaping?
Coconut oil can be used as a dairy-free option, providing a subtle aroma and glossy finish while aiding in shaping.