
 Bookmark
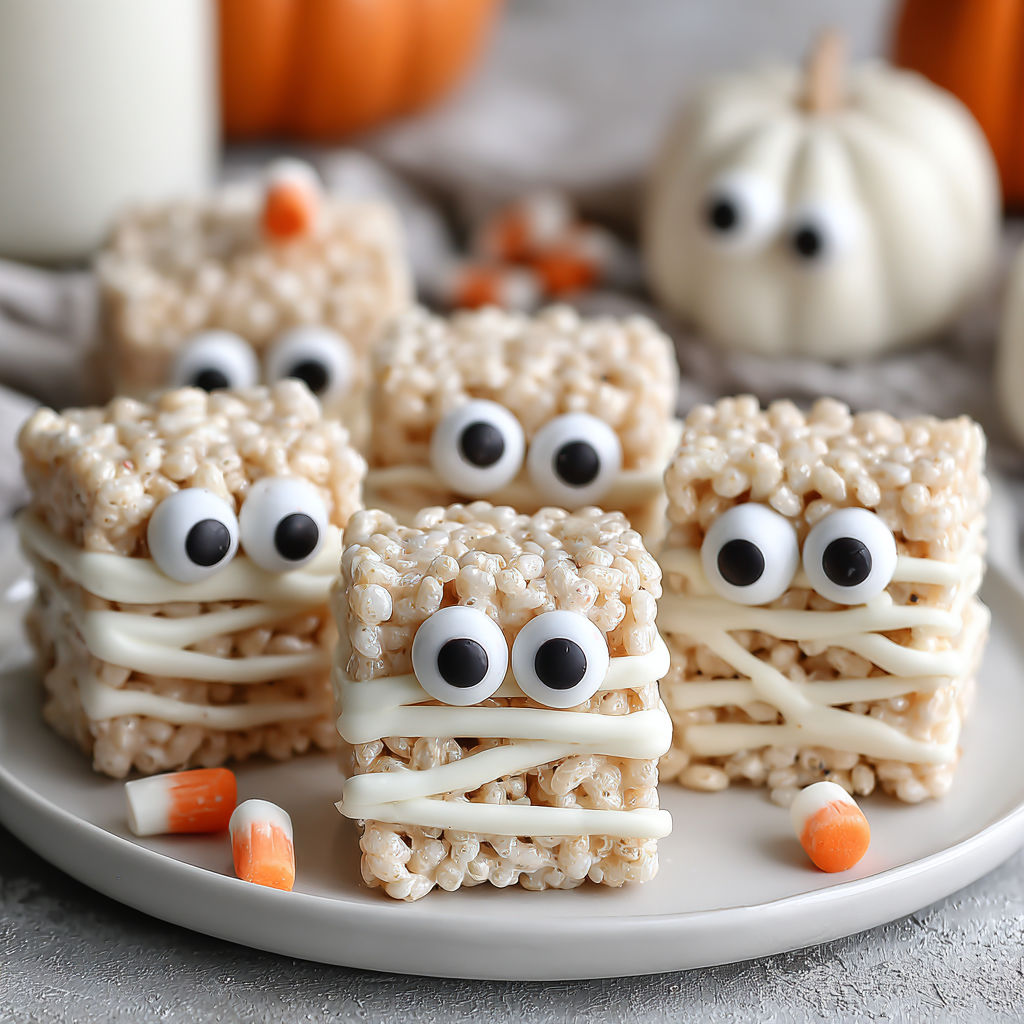
These Rice Krispie Mummies are a playful and easy no bake treat that turns simple pantry ingredients into a festive Halloween snack. Perfect for gatherings, parties, or just a fun activity with kids, they combine crispy cereal, gooey marshmallows, and sweet white chocolate to create silly yet delicious little mummies decorated with candy eyeballs.
I first made these with my niece and watching her excitement as she decorated each mummy was priceless. Now they're a must have for every Halloween celebration in our family.
Ingredients
- Unsalted butter: Three tablespoons to provide richness and help melt the marshmallows smoothly use fresh butter for best results
- Mini marshmallows: One ten ounce bag to bind the cereal together into chewy clusters fresh marshmallows melt more evenly for the perfect texture
- Rice Krispies cereal: Six cups for that signature crisp crunch opt for the original version for classic flavor or a gluten free puffed cereal for a twist
- White chocolate chips: One and a half cups to drizzle the mummy bandages adding coconut oil makes the chocolate silky and easy to pipe
- Candy eyeballs: Two per mummy for spooky decoration choose brightly colored ones or make your own with fondant and edible markers
- Coconut oil: Two teaspoons optional but recommended to smooth the melted white chocolate for flawless decorating
Instructions
- Prepare Your Pan and Ingredients:
- Lightly grease a 9 by 13 inch nonstick pan with butter or spray to ensure the treats come out without sticking. Measure all ingredients ahead of time to work quickly once the marshmallows melt since the mixture sets fast.
- Melt Butter and Marshmallows:
- Place butter in a large heavy bottom pot over medium low heat. Let it melt gently then add the mini marshmallows. Stir constantly until the marshmallows melt fully and create a smooth gooey mixture. Remove from heat right away to prevent burning or stiffening.
- Combine with Rice Krispies:
- Immediately add the Rice Krispies cereal to the melted marshmallow mixture. Fold the cereal in using a buttered spatula or clean greased hands until every piece is evenly coated. Work swiftly because the mixture will start to harden.
- Press into Pan:
- Transfer the combined mixture into your prepared pan. Gently press it down evenly to create a flat surface but avoid packing it too tightly or the mummies will be hard instead of tender.
- Cool and Cut:
- Allow the treats to cool at room temperature for about 20 minutes so they firm up just enough to cut. Use a sharp greased knife to slice the treats into rectangles or squares.
- Melt and Pipe White Chocolate:
- Place white chocolate chips and optional coconut oil in a microwave safe bowl. Heat in short 20 second bursts stirring well after each until the chocolate is smooth and glossy. Transfer to a piping bag or a resealable plastic bag with a tiny corner cut off for decorating.
- Decorate Mummies:
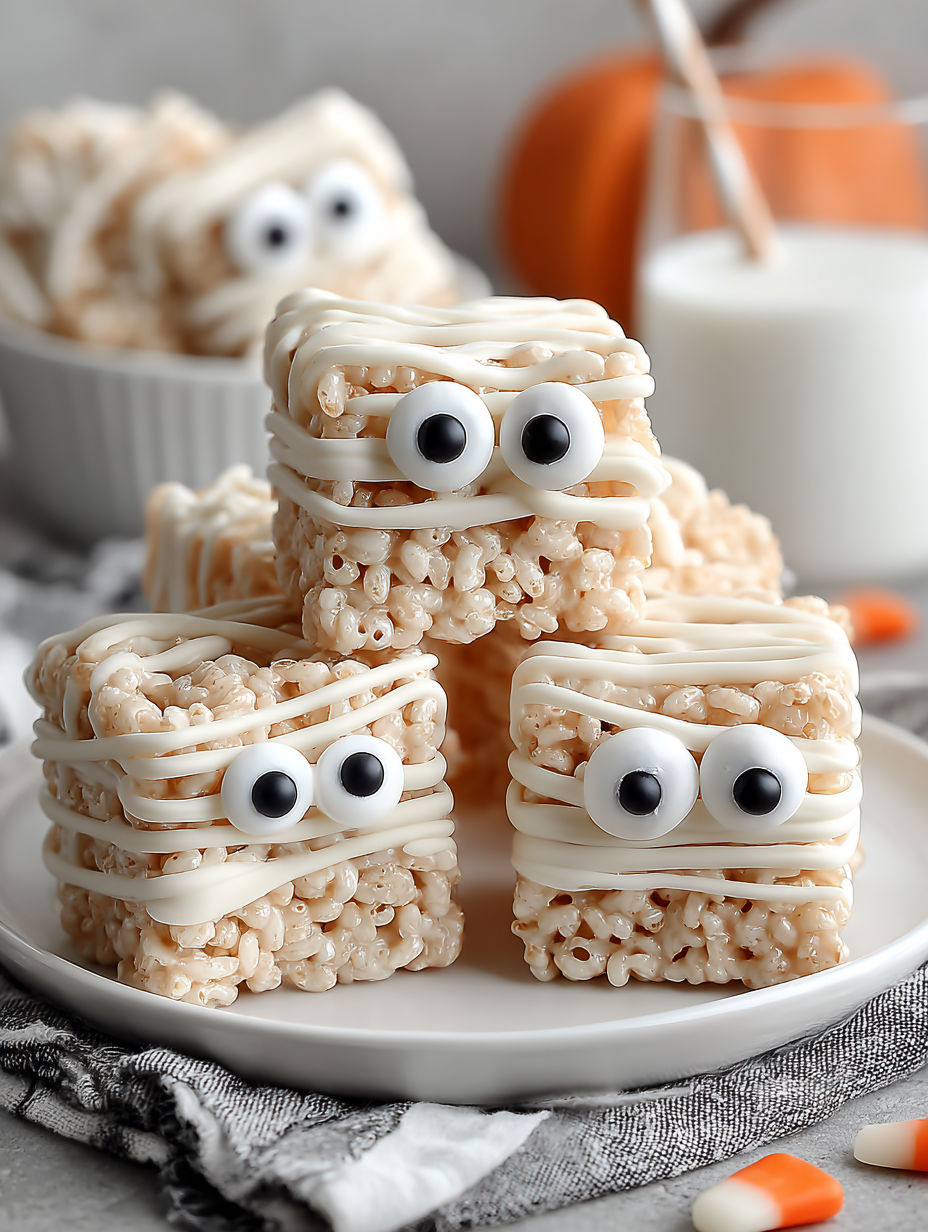
- Drizzle the melted white chocolate in a crisscross pattern across each Rice Krispie piece to mimic mummy bandages. Before the chocolate sets place two candy eyeballs on each mummy for a spooky effect.
- Set and Serve:
- Let the decorated treats rest until the white chocolate hardens. To speed this up pop the pan in the fridge for a few minutes. Serve on a Halloween themed tray to impress guests of all ages.
One of my favorite ingredients is the white chocolate. Adding just a little coconut oil to melt it ensures perfect drizzling that looks like real mummy bandages and I remember last Halloween making these together with my son giggling as he tried to place the candy eyes just right.
Storage Tips
Keep your Rice Krispie Mummies stored in an airtight container at room temperature to maintain the soft and chewy texture for up to three days. For longer storage wrap individual mummies tightly and freeze then thaw at room temperature before decorating or serving.
Ingredient Substitutions
Use vegan butter or coconut oil instead of unsalted butter for dairy free versions. Try dairy free white chocolate chips as an alternative if you have allergies. Swap Rice Krispies with gluten free puffed quinoa or brown rice cereal for a slightly nuttier and chewier treat.
Serving Suggestions
Serve these Rice Krispie Mummies alongside a warm mug of hot chocolate spiced apple cider or pumpkin spice latte for a cozy fall dessert experience. For a fun grown up twist sprinkle some flaky sea salt or edible glitter on top of the chocolate before it firms.
These Rice Krispie Mummies are a simple festive treat that kids and adults enjoy. Quick to make and endlessly customizable they are perfect for Halloween parties.
Common Questions About Recipes
- → Why do my Rice Krispie treats turn out hard?
Overpacking the mixture or overheating marshmallows can make treats dense. Press gently and remove marshmallows from heat promptly for soft texture.
- → How can I melt white chocolate smoothly?
Microwave in short intervals, stirring between bursts. Adding coconut oil helps achieve a silky, lump-free consistency.
- → What’s the best way to store these treats?
Keep in an airtight container at room temperature up to 3 days. Refrigerate for longer storage; treats may firm up slightly.
- → Can I prepare these mummies ahead of time?
Yes, assemble up to 2 days in advance and decorate before serving to keep chocolate bandages crisp.
- → How do I double the batch for a party?
Use a larger or multiple pans and increase white chocolate and candy eyes proportionally. Prepare in batches to prevent premature setting.