
 Bookmark
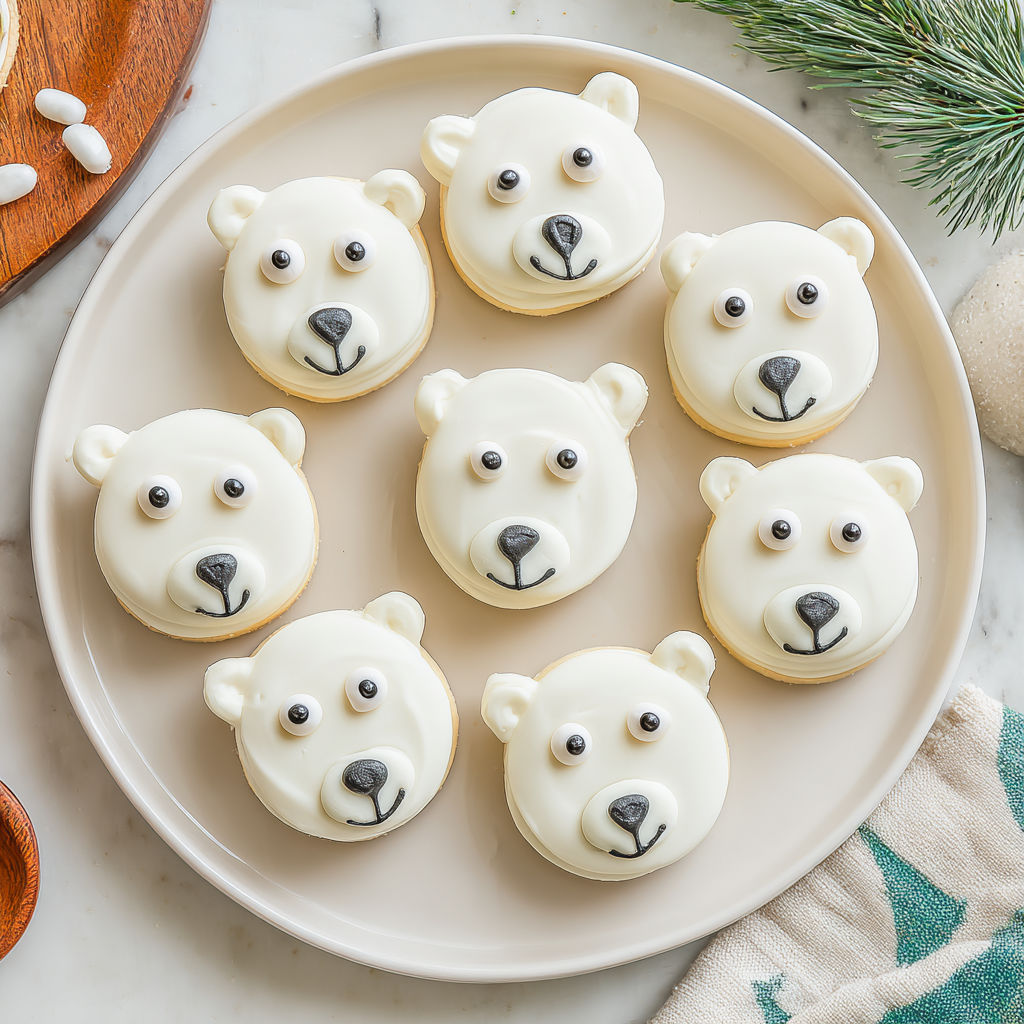
These Fun Polar Bear Oreos are a delightful winter treat that brings a festive touch to any holiday gathering. With their simple yet charming decoration, they transform classic Oreos into whimsical polar bears perfect for sharing with friends and family. This recipe is not only easy but also a creative way to get the kids involved in holiday baking.
I first made these on a snowy afternoon with my nephews, and watching their faces light up while decorating was the best part. Now these treats are a staple whenever we want to add a little magic to winter celebrations.
Ingredients
- Regular Oreo cookies: 36 cookies from a 4.3ounce bag are perfect for a standard batch
- White candy melts: 2 cups essential for coating the cookies and creating the bear features choose goodquality melts for a smooth finish
- Candy eyeballs: 72 provide the adorable eyes look for ones with edible glue so they stick well without extra frosting
- Black cookie frosting: 1 tablespoon used for drawing the noses a tube with a fine tip makes detailing easier
- Tip: When selecting candy melts, opt for brands that melt smoothly and don’t seize easily for best coating results. Fresh cookies without cracks also help the final product look neat.
Instructions
- Spoon Out Preparation:
- Line a cookie sheet or cooling rack with parchment paper. This prevents cookies from sticking and makes cleanup easier.
- Make the Ears:
- Separate the candy melts into two equal groups of 36. Carefully cut one group in half to create the small oval ears. Using a sharp knife helps achieve clean edges without cracking.
- Melt the Candy:
- Place the full candy melts into a microwave safe bowl. Heat on 50 percent power for one minute, then stir well. Repeat heating in 30 second bursts at 50 percent power, stirring after each, until the candy is silky smooth and completely melted. Some microwaves need longer, so keep watch to avoid burning.
- Dip the Oreos:
- Using a fork or candy dipper, dip each Oreo fully into the melted candy making sure it is evenly coated. Let the excess drip back into the bowl before placing the cookie onto the parchment paper. This ensures a neat, even coating and less mess.
- Assemble the Polar Bear Faces:
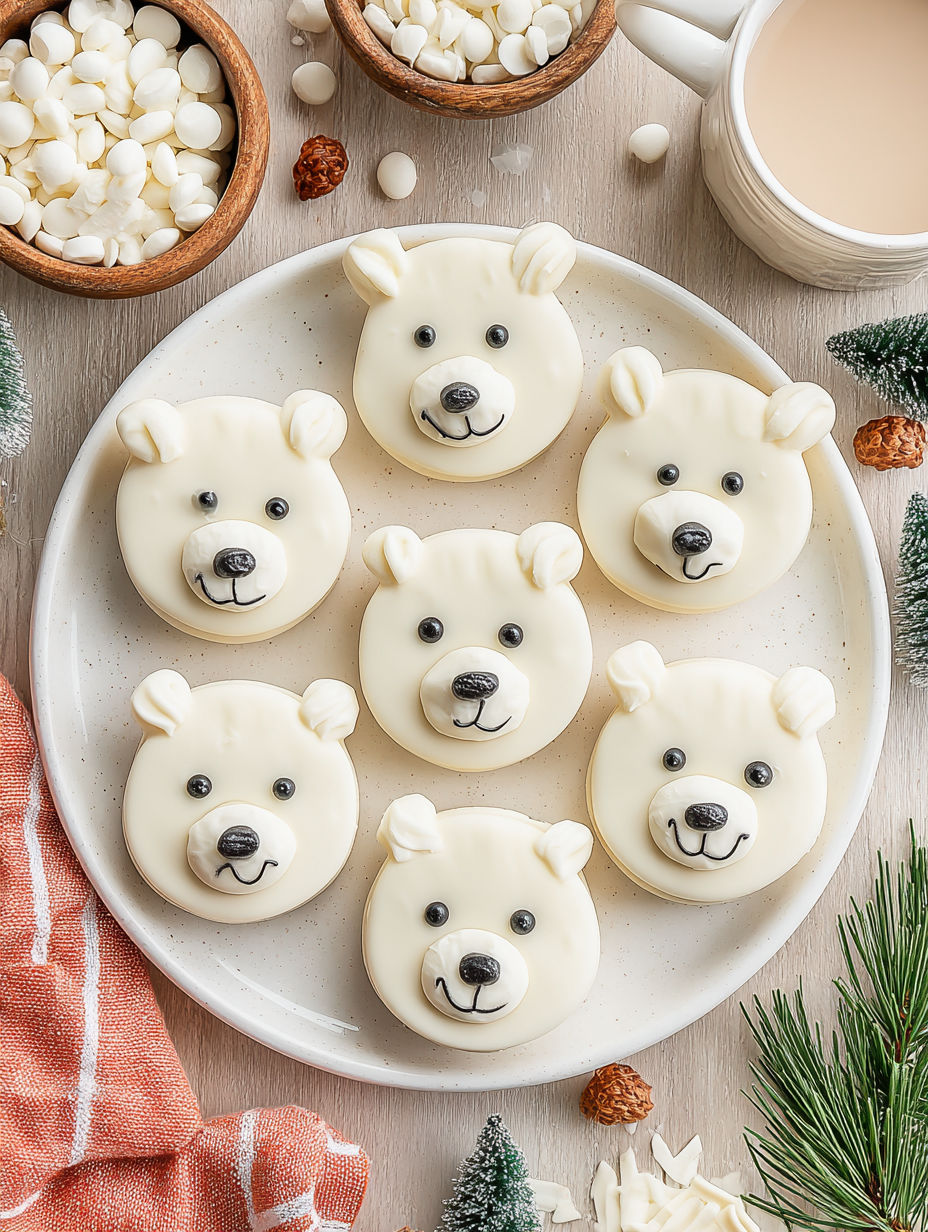
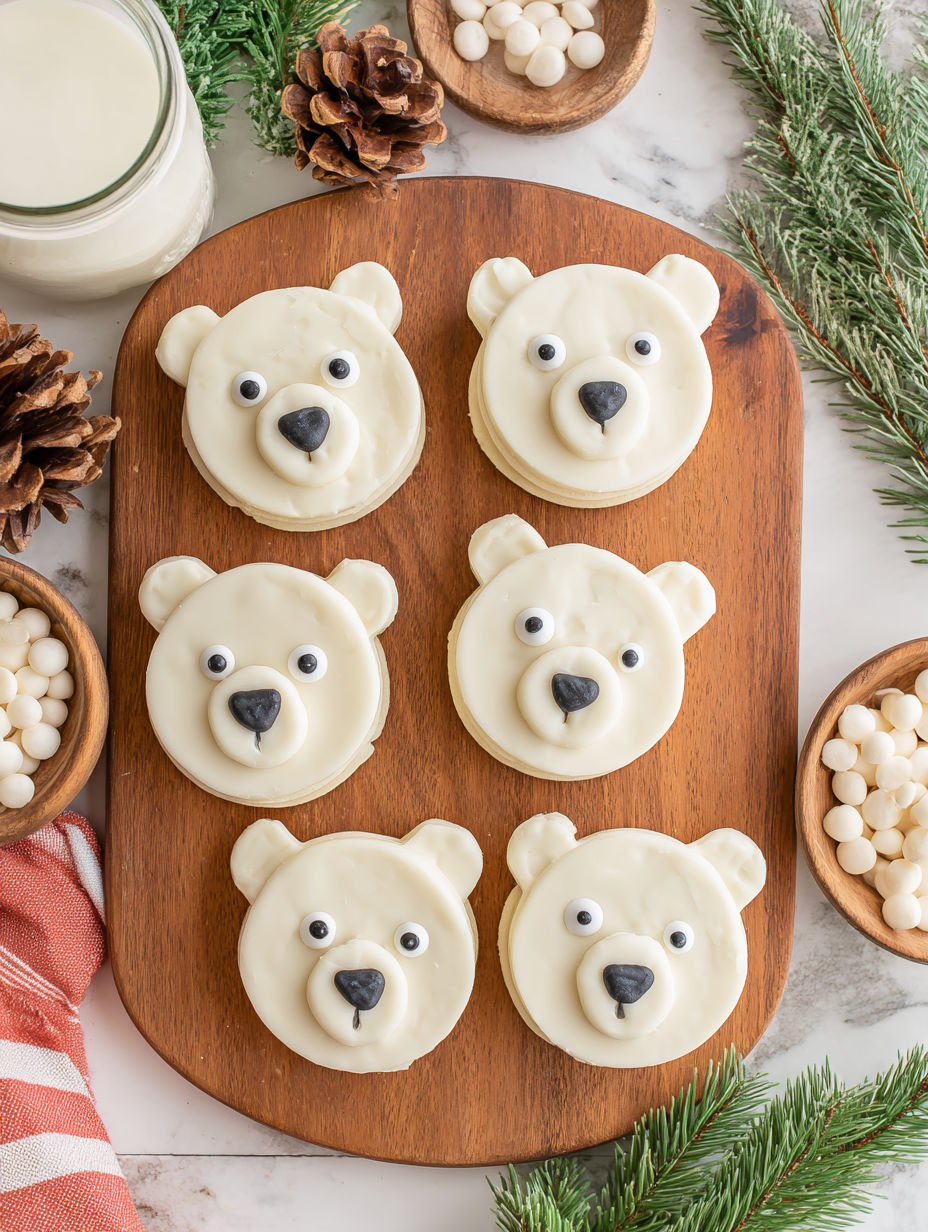
- While the candy coating is still soft, press one whole candy melt onto the bottom half of the cookie to form the snout. Position two candy eyeballs above the snout, spaced evenly apart. Then gently press the two halves of the other candy melt on the sides as ears. Work swiftly before the coating begins to harden.
- Add the Details:
- Let the cookies sit undisturbed for about 10 minutes so the candy coating can harden properly. Once firm, use black cookie frosting to pipe a small dot nose onto each snout. After the noses dry for 5 more minutes, the cookies are ready to serve or package.
My favorite part of this recipe is the snout detail since it really brings the polar bear face to life. It always makes me nostalgic for cozy afternoons baking with family when the house smells sweet and everyone is laughing over sticky fingers.
Storage Tips
Store the finished Polar Bear Oreos in an airtight container at room temperature for up to three days. Keeping them away from heat prevents the candy coating from melting or becoming sticky. For longer storage, you can refrigerate them but allow them to come to room temperature before serving to soften the candy coating.
Ingredient Substitutions
If you cannot find candy eyeballs use small dots of white and black frosting piped with a toothpick for similar eyes. White chocolate chips can replace candy melts but may take longer to melt and set. For the nose, an edible black gel pen works well if you don’t have black cookie frosting.
Serving Suggestions
These polar bear cookies pair wonderfully with a warm cup of hot chocolate or a glass of cold milk. They also add a whimsical touch when served alongside other holiday treats like gingerbread or peppermint bark. Presenting them on a festive platter with some pine sprigs elevates the wintery feel.
These Polar Bear Oreos are a fun festive treat that are easy to make and perfect for sharing. They make a charming addition to any holiday dessert tray.
Common Questions About Recipes
- → What kind of cookies work best for this treat?
Standard sandwich cookies like Oreos provide the perfect base due to their size and chocolate filling, enhancing flavor and structure.
- → How can I melt candy coating without burning it?
Heat candy melts in a microwave-safe bowl at 50% power in 30-second intervals, stirring frequently to ensure smooth texture without burning.
- → What is the best way to create the bear ears?
Cut candy melts in half carefully to form ears, then attach them onto the coated cookie while the coating is still soft for secure placement.
- → Can I substitute candy eyes with something else?
Yes, small edible decorations like mini chocolate chips or icing dots work well as alternatives to candy eyes.
- → How long should I let the coating harden before serving?
Let the dipped cookies sit for about 10 minutes until firm, and after adding details like the nose, rest for another 5 minutes to fully set.
- → Are these treats suitable for a children’s activity?
Absolutely, decorating these bear cookies is a fun, manageable project that kids can enjoy, especially on chilly afternoons.