 Bookmark
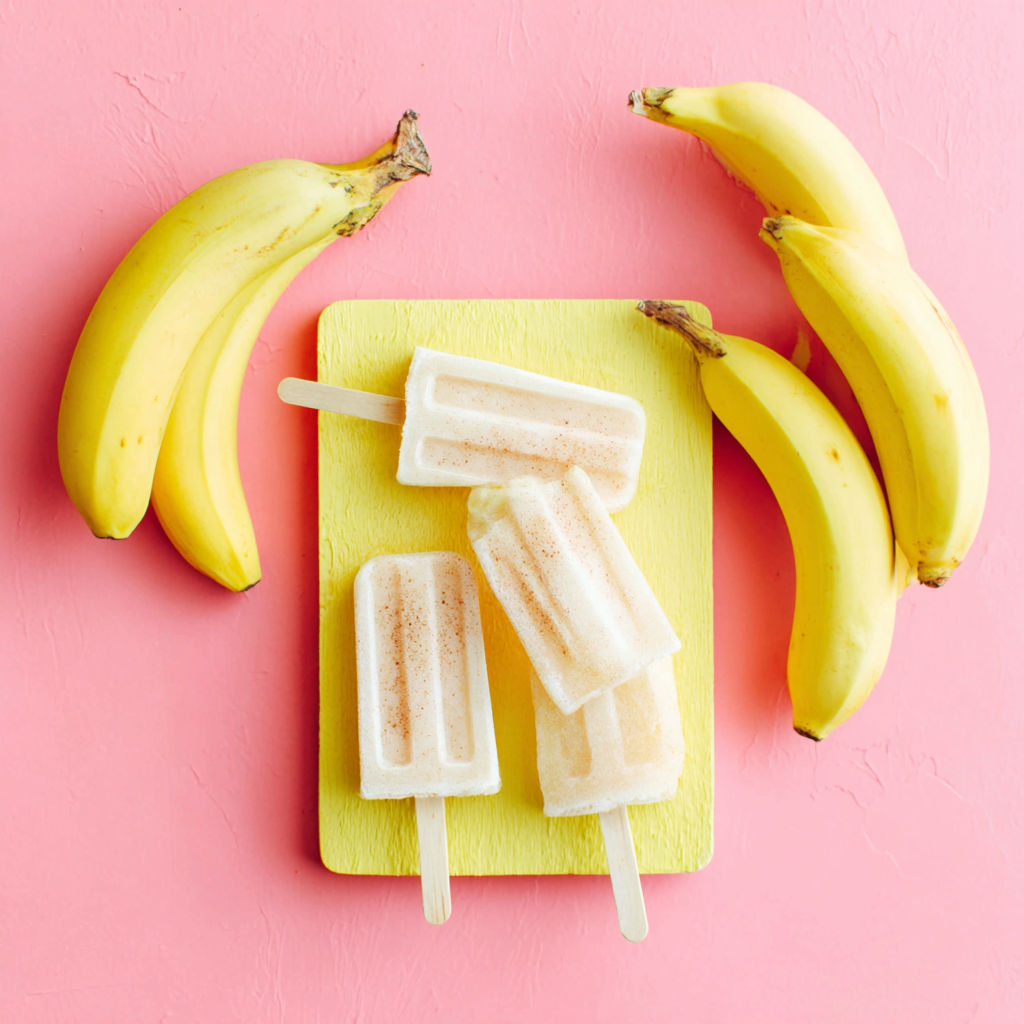
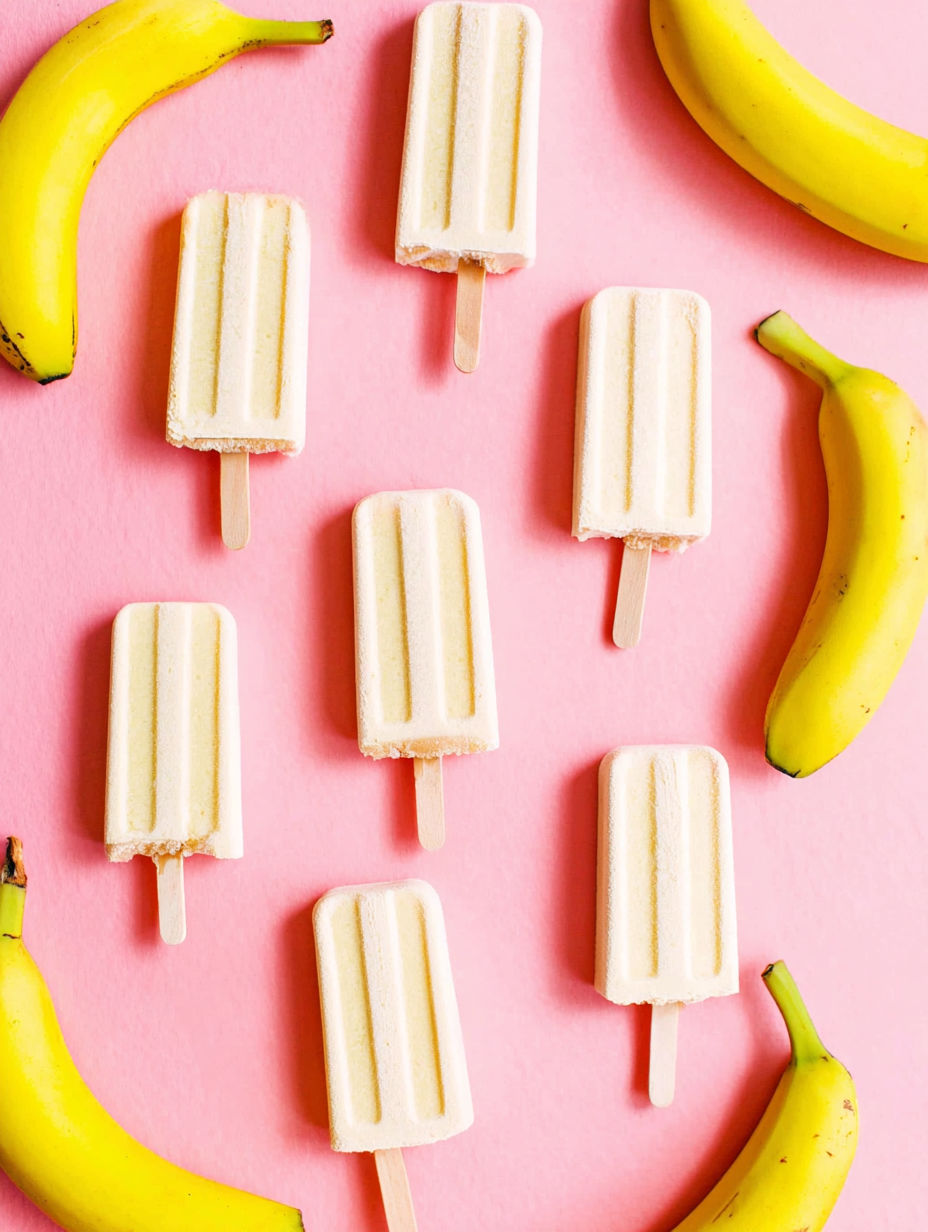
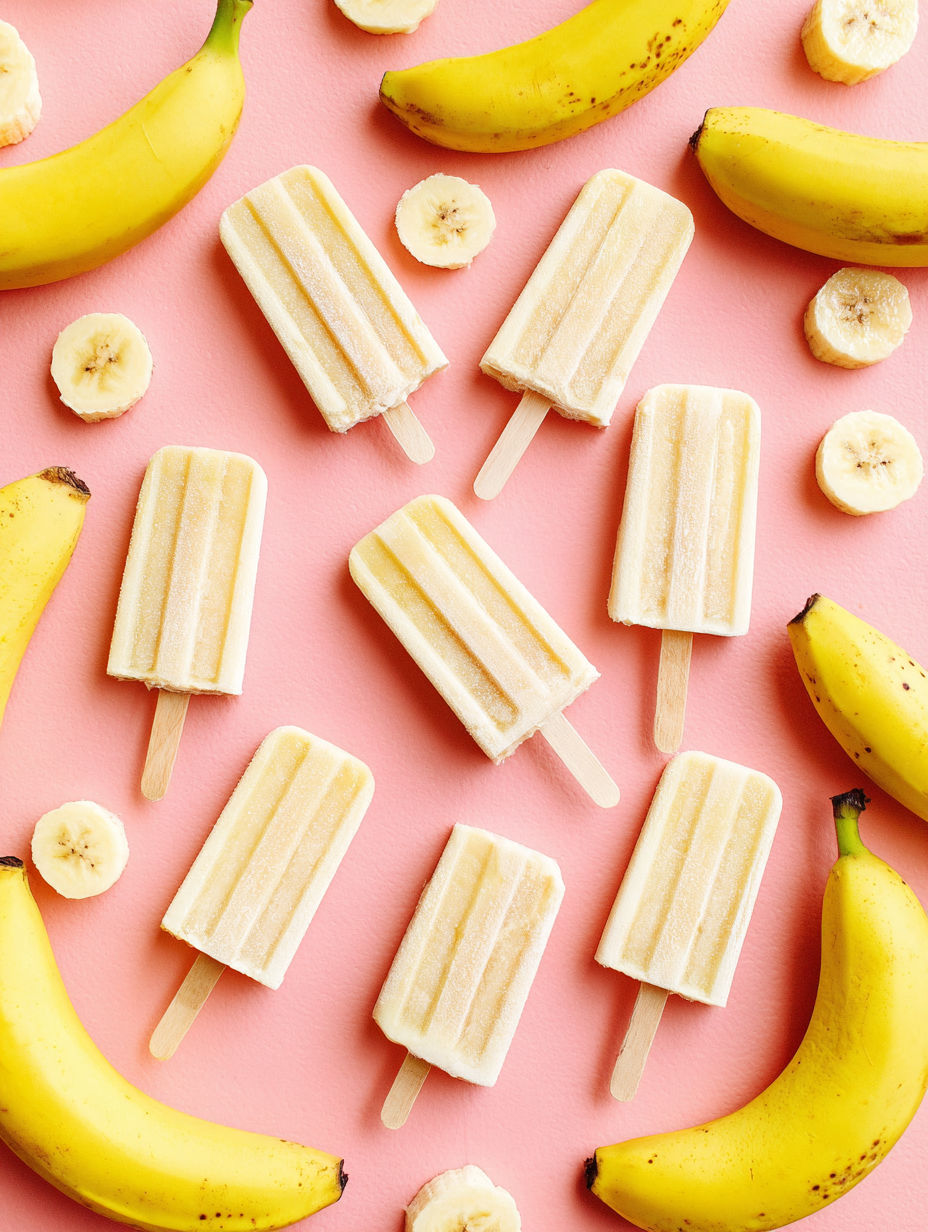
These 3 ingredient banana popsicles are a perfect treat for any time you want something sweet, refreshing, and simple to make. With just bananas, honey, and milk, you can whip up creamy, delicious popsicles in no time. They are great for using up ripe bananas and offer a wholesome alternative to store-bought frozen treats.
I first made these when I had a bunch of ripe bananas on hand and wanted a healthy dessert. Now they are a staple in my freezer, especially because my kids love helping me add chocolate chips or berries for extra fun.
Ingredients
- Bananas: ripe ones with brown spots for natural sweetness and creamy texture. Choose bananas that are soft but not mushy for the best blend.
- Honey: a natural sweetener that adds a floral note and balances the banana flavor. Maple syrup or agave work well too if you want a different taste or vegan option.
- Milk: half a cup of your milk of choice brings creaminess and helps thin the mixture so it freezes smoothly. Use any dairy or plantbased milk like almond or soy for dietary preferences.
- Optional flavorings: such as cocoa powder to make chocolate popsicles, cinnamon for warmth, or vanilla extract for added depth. These can be adjusted to personal taste to create fun variations.
Instructions
- Scoop and blend the bananas:
- Combine peeled ripe bananas with honey and milk in a blender. Add any optional flavorings here. Blend until completely smooth for the best creamy texture once frozen.
- Pour into molds and insert sticks:
- Divide the smooth banana mixture evenly into popsicle molds. Leave some space at the top to allow for expansion during freezing. Place popsicle sticks firmly in the center of each mold.
- Freeze until firm:
- Place the molds in the freezer for at least 4 hours or until the popsicles are fully solid. When ready to serve, run warm water briefly on the outside of the molds to loosen the popsicles so they come out easily.

Bananas are my favorite ingredient here because they bring both natural sweetness and creaminess without any added junk. I remember making these with my kids on a hot summer afternoon and watching their eyes light up as they tried homemade pops for the first time. It’s such a simple recipe but full of happy memories.
Storage Tips
Remove the popsicles from the molds after freezing and store them in an airtight, freezersafe container. This prevents freezer burn and keeps them tasting fresh longer. They last well up to a month in the freezer.
Ingredient Substitutions
Try swapping honey for maple syrup to change the flavor profile or make the recipe veganfriendly. Use coconut milk instead of regular milk for a richer, slightly tropical taste. Add Greek yogurt in place of half the milk for extra protein and creaminess if you like thicker popsicles.
Serving Suggestions
Serve these banana popsicles as a guilt-free dessert or a fun afternoon snack. Pair them with fresh berries or sprinkle with crushed nuts for texture. They also make a great afterschool treat or party favor.

Enjoy these creamy banana popsicles as a simple, healthy treat the whole family will love. They're easy to customize and perfect for hot days.
Common Questions About Recipes
- → What type of bananas work best?
The riper the bananas, the sweeter and creamier the pops will be. Look for bananas with brown speckles for optimal taste.
- → Can I use non-dairy milk?
Yes, almond, soy, or any preferred plant-based milk works well to keep the pops creamy and smooth.
- → How can I speed up banana ripening?
Place unpeeled bananas on a baking sheet and bake at 350°F for 5-10 minutes until soft, then cool before use.
- → What add-ins improve flavor variety?
Try mixing in cocoa powder, cinnamon, vanilla extract, mini chocolate chips, or peanut butter for unique taste twists.
- → How long should these pops be frozen?
Freeze the popsicles for at least 4 hours, until completely hardened and ready to enjoy.
- → How to remove popsicles easily from molds?
Run the molds under warm water for a few seconds to loosen the edges before gently pulling out the pops.
