
 Bookmark
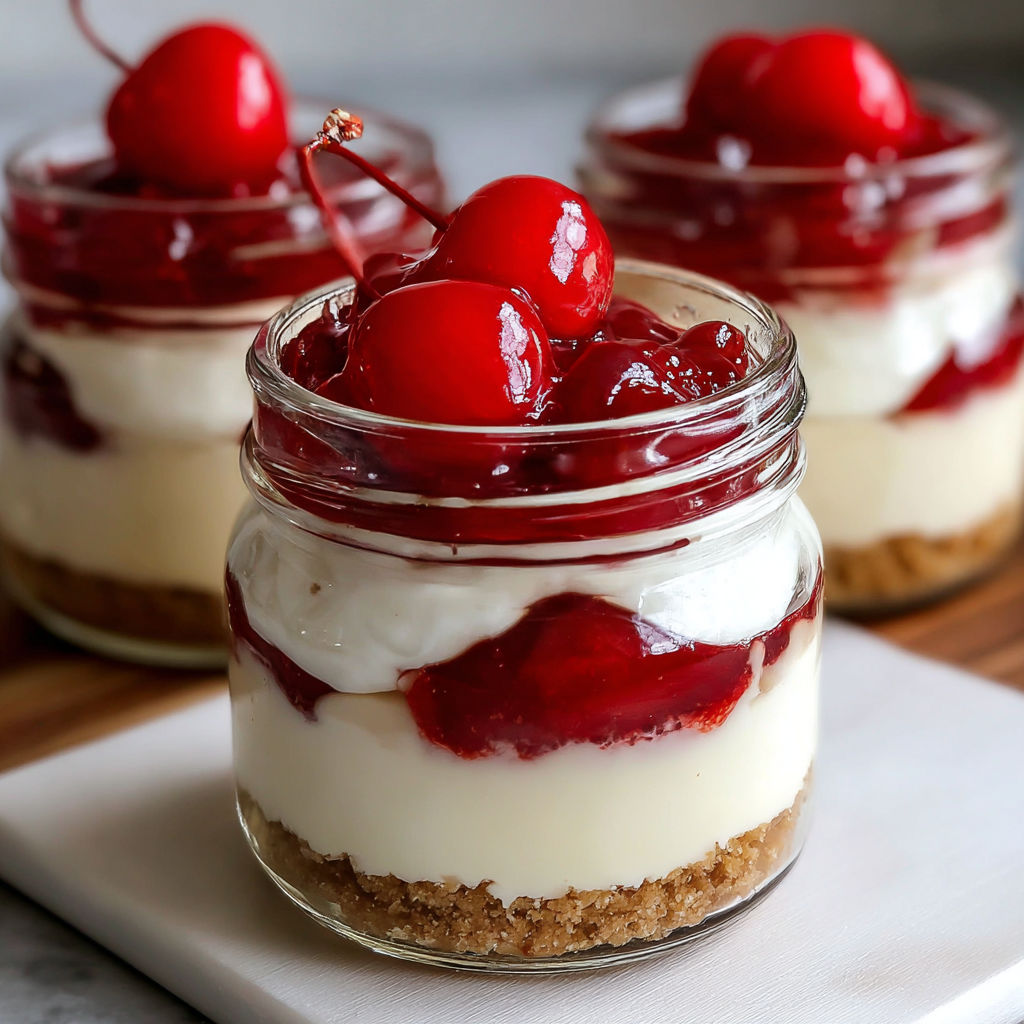
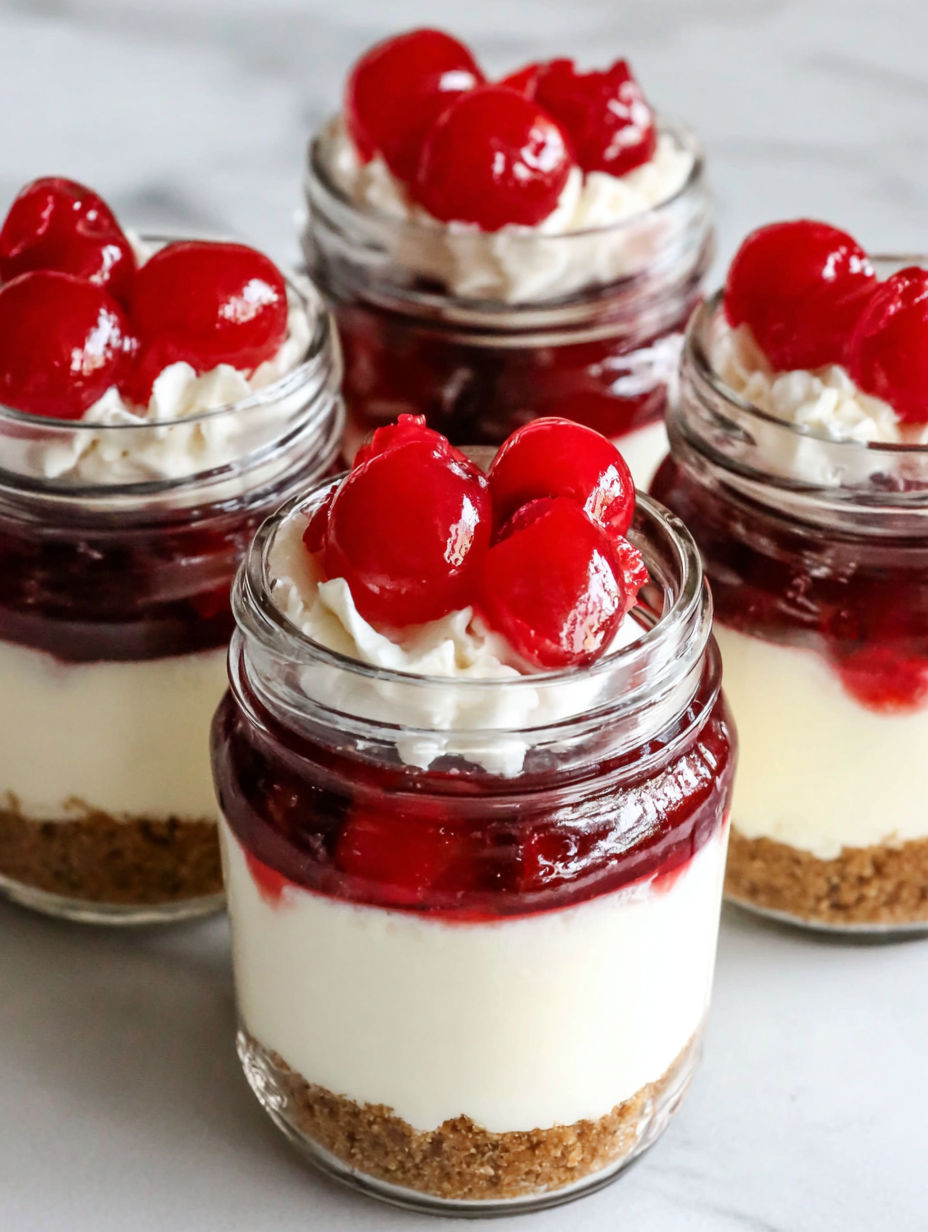
Cheesecake in a jar was my answer to craving a classic dessert with none of the fuss or baking. These little jars pack all the creamy, tangy, and sweet layers you love and deliver impressive, make-ahead portions for parties or cozy nights at home. The best part is how effortless it is to assemble and how beautiful each individual jar looks when served.
My family begs for these every summer picnic. I first made them to avoid heating the kitchen and now it is a year round staple that everyone requests for birthdays and potlucks.
Ingredients
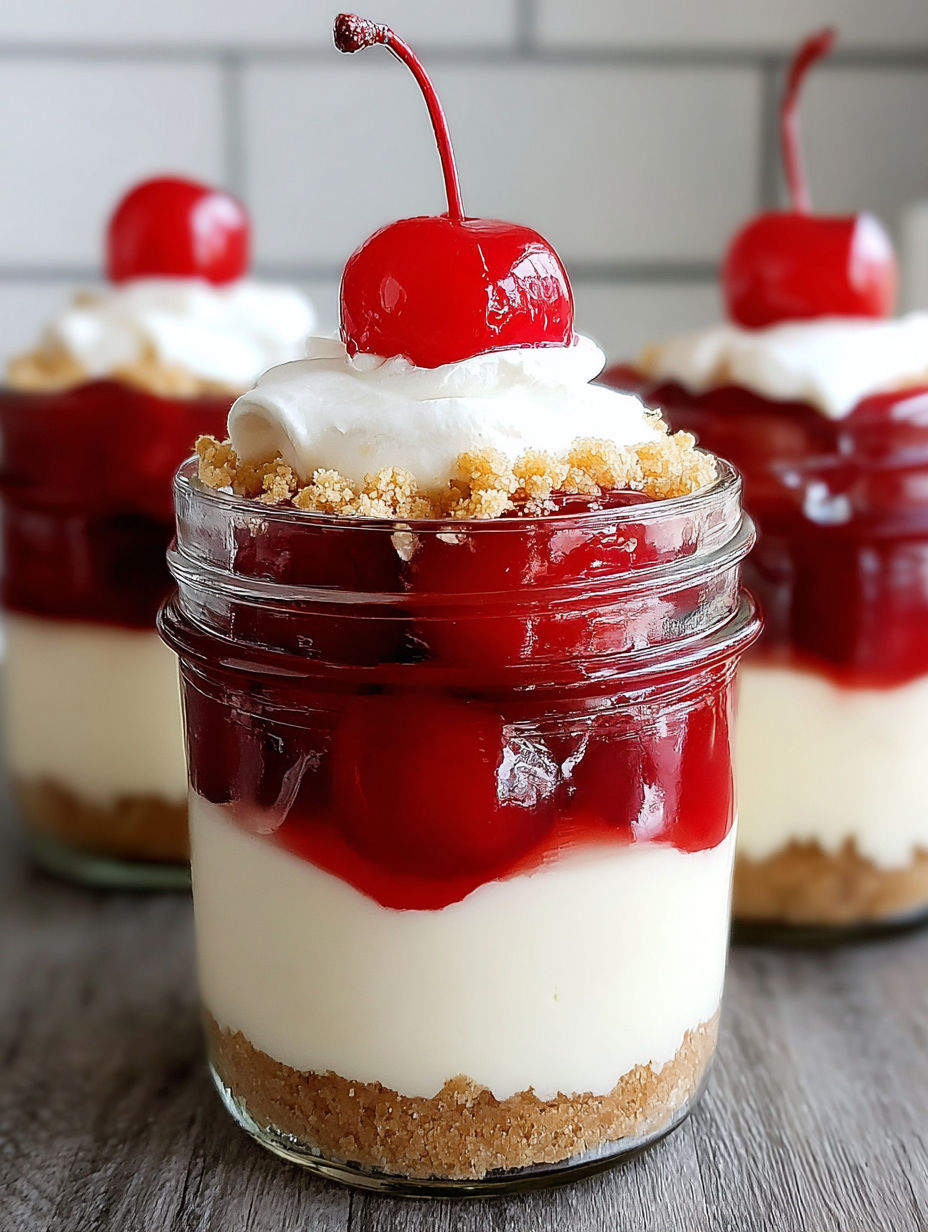
- Graham cracker crumbs: gives a nutty sweet crunch that is the essential cheesecake base look for crumbs with an even fine texture
- Butter melted: helps the crust set and adds rich flavor choose unsalted for best control
- Granulated sugar: sweetens the crust and balances the tangy cheese filling use pure cane sugar if possible
- Cream cheese softened: creates the signature creamy texture use block-style and let it sit out for a smooth mix
- Confectioners sugar: blends smoothly into the filling for gentle sweetness sift for the silkiest texture
- Vanilla extract: adds warmth and aroma look for pure vanilla for best flavor
- Heavy cream whipped: creates a lightness that lifts the cheesecake layer use very cold cream for maximum volume
- Cherry pie filling: tops the jars with bright color and tart sweetness choose whole cherries and avoid anything with artificial colors
Instructions
- Prepare the Crust:
- Combine the graham cracker crumbs melted butter and granulated sugar in a mixing bowl stir well with a fork until every crumb is evenly coated and the mix looks moist then divide evenly among six jars gently pressing into the bottom to form a firm base
- Make the Cream Cheese Filling:
- In a fresh bowl blend softened cream cheese with confectioners sugar and vanilla extract beat on medium high speed until smooth light and lump free this develops the creamy texture
- Whip the Heavy Cream:
- In a separate cold bowl beat heavy cream on high until soft peaks form the cream should hold its shape but not be stiff or dry this step makes the cheesecake layer fluffy
- Combine Mixtures:
- Use a spatula to gently fold the whipped cream into the cream cheese mixture work in batches and use a light hand to keep the mix airy and smooth do not overmix stop as soon as no streaks remain
- Fill the Jars:
- Transfer the cream cheese filling to a piping bag snip the end and pipe evenly into each jar over the crust layer filling to about three quarters full for the best layer effect
- Add Toppings:
- Spoon cherry pie filling carefully over each jar spreading it to the edges for full color coverage use a clean spoon for each to keep jars neat and appetizing
Every time I scoop into the creamy filling with sweet cherries I remember us making these one summer night and decorating jars with the kids markers. The smooth vanilla cheesecake and tart fruit always transport me right back.
Storage Tips
Store jars with lids tightly closed in the coldest part of your fridge for freshest flavor and smoothest texture. For freezer storage wrap each jar with plastic to prevent freezer burn and label them. Always thaw overnight in the refrigerator rather than at room temperature to keep the layers looking and tasting perfect.
Ingredient Substitutions
You can swap graham cracker crumbs with crushed vanilla cookies or even digestive biscuits for a twist. For a gluten free crust use gluten free cookie crumbs or crushed nuts. Dairy free options work too using vegan cream cheese and coconut whipped cream.
Serving Suggestions
Serve jars as party favors with ribbons or personalized labels at weddings or showers. For a fresh touch add layers of sliced strawberries blue or blackberries. Drizzle with caramel or melted dark chocolate for a richer dessert. Often I top extra jars with lemon zest or toasted coconut for a crowd friendly finishing touch.
Cultural or Historical Notes
Cheesecake has roots as far back as ancient Greece but this jar method is a modern way to keep dessert individual and picnic ready. Layered desserts like this became popular for portable convenience and eye appeal at American potlucks. Now they are found at trendy bakeries and homemade tables alike.
Seasonal Adaptations
Use fresh peaches and blueberry compote in summer Try cranberry orange topping in winter for a festive touch Add cinnamon to the crust in autumn for warmth
Success Stories
When my daughter made these for a school bake sale they sold out in minutes and had everyone asking for the recipe. I make extra every time because they disappear fast at family gatherings.
Freezer Meal Conversion
Prepare the jars fully without the fruit topping and freeze well wrapped. Defrost overnight in the fridge and then spoon on the fresh fruit just before serving for the best presentation.
Every time I open the fridge and see a stack of these jars I know dessert is just a spoon away and that there is always a simple way to make any day special.
Common Questions About Recipes
- → Can I use different fruit toppings?
Absolutely! Swap cherry pie filling with blueberries, strawberries, peach slices, or fruit jams for variety.
- → How long should the jars chill before serving?
Chill the jars for at least two hours. This helps set the layers and enhances their flavor and texture.
- → What can I use instead of graham crackers?
Try crushed cookies, vanilla wafers, or gluten-free crumbs as an alternative base for the crust.
- → Do I need a mixer to prepare the filling?
Using a mixer ensures a smooth and creamy cheese layer, but you can mix by hand if you don't mind some effort.
- → Is this dessert suitable for making ahead of time?
Yes, assemble up to a day ahead and store sealed jars in the fridge until ready to serve for freshness.