
 Bookmark
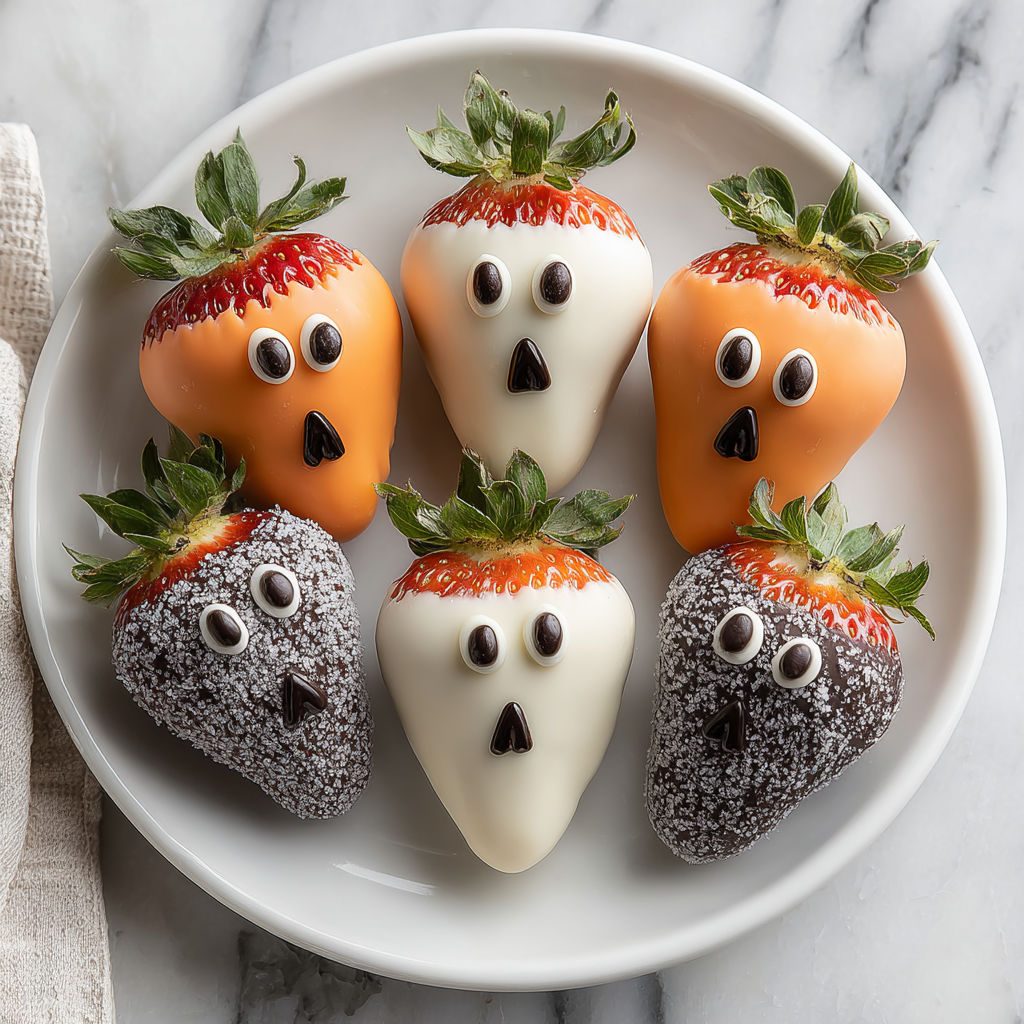
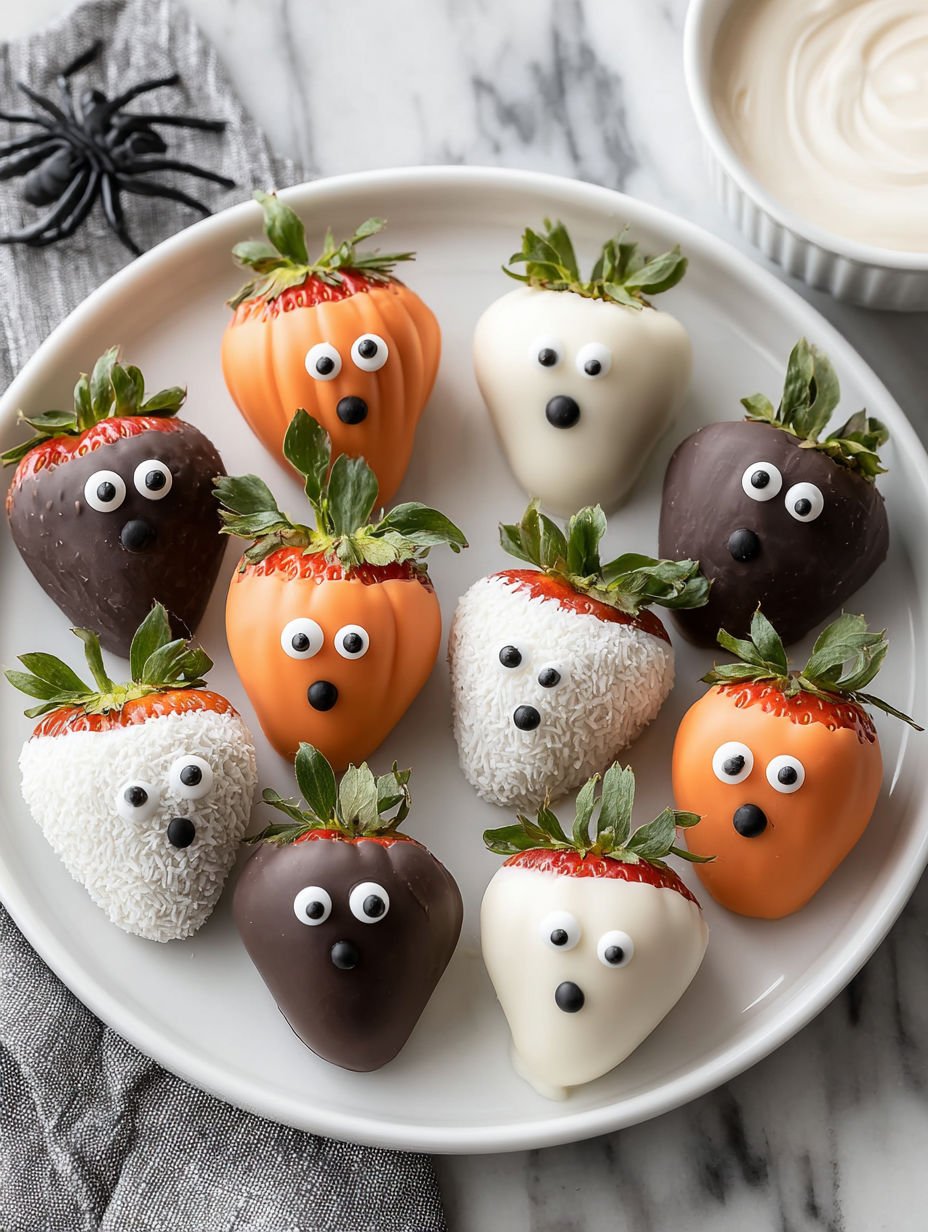
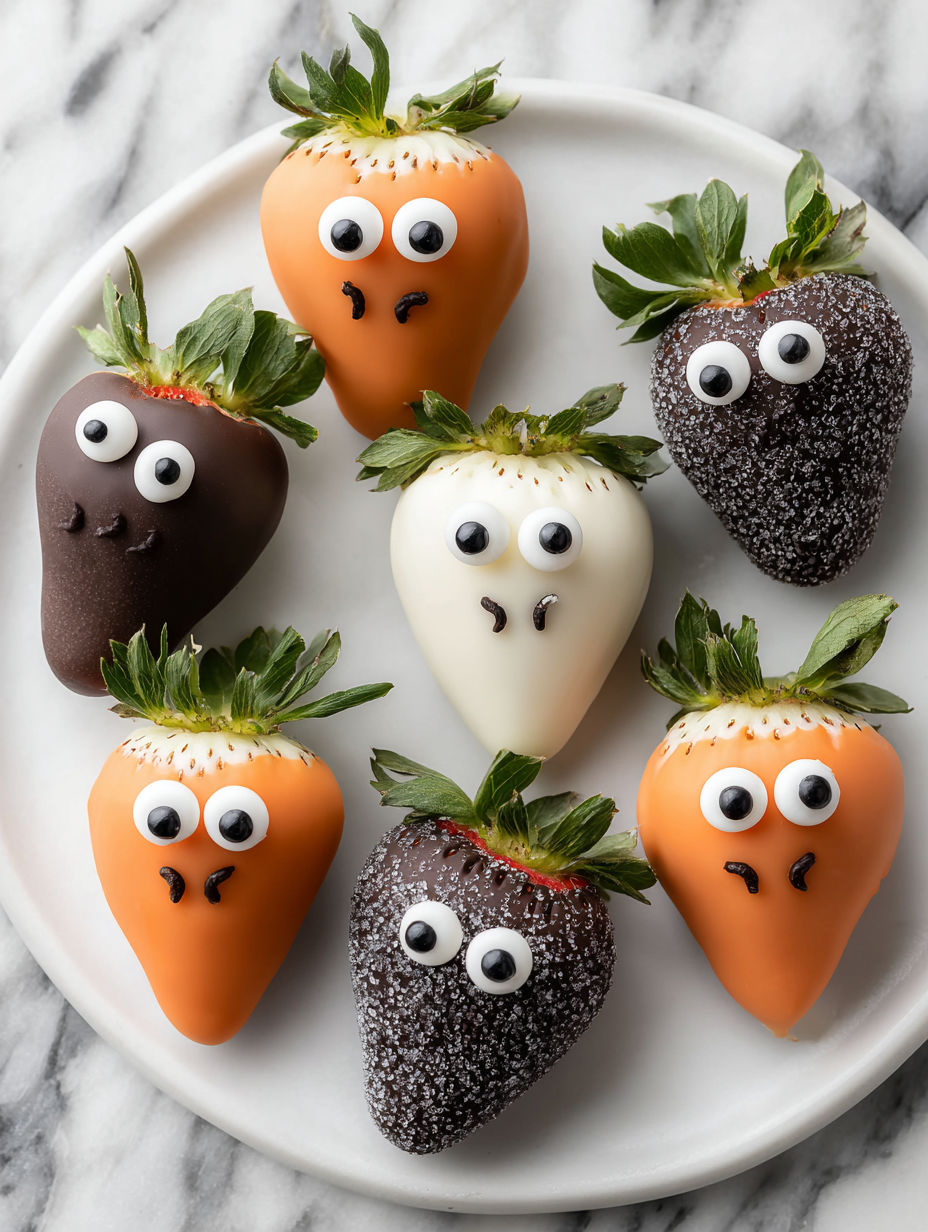
These Halloween Chocolate Covered Strawberries are a playful and delicious way to celebrate the spooky season. Adorned as ghosts, pumpkins, and mummies, they offer a festive touch that is both eye catching and surprisingly simple to make. Whether you want a fun activity to do with kids or a charming dessert to wow your guests, this recipe delivers sweetness with a seasonal twist.
When I made these the first time, my kids loved decorating their own strawberries and couldn’t wait to show them off at the table. Now they ask for them every year as part of our Halloween tradition.
Ingredients
- One pound fresh strawberries: choose firm, bright red berries for the best flavor and sturdy dipping surface
- Eight ounces white chocolate or white candy melts: provides a smooth coating that turns ghosts to life
- Eight ounces milk or dark chocolate: ideal for the rich base of mummy strawberries opt for quality chocolate for better melting and taste
- Four ounces orange candy melts: these add vibrant pumpkin color and are easier to melt consistently than orange chocolate
- Two teaspoons coconut oil or vegetable shortening: optional but highly recommended for silky texture and easier dipping
- Candy eyes: store bought are convenient and add character you can also make your own with icing
- Black decorating gel or melted dark chocolate: perfect for drawing spooky faces and mummy wrap details
- Small piping bags or zip top bags: essential for precision when decorating and drizzling chocolate
Instructions
- S ot the Strawberries:
- Thoroughly wash the strawberries and dry them completely with paper towels to ensure the chocolate adheres properly. Any moisture will cause the coating to slip.
- L set up the Work Surface:
- Line a baking sheet with parchment paper to place the dipped strawberries on as they set.
- M l t the Chocolates:
- Melt the white chocolate, milk or dark chocolate, and orange candy melts separately. Use microwave safe bowls and heat in 30 second intervals, stirring well each time until smooth. Add half a teaspoon of coconut oil or shortening to each bowl to help achieve a silky finish and smoother coating.
- C p the Strawberries:
- Divide the strawberries into thirds. Dip one third into the white chocolate for ghosts, one third into the orange candy melts for pumpkins, and the remaining third into the milk or dark chocolate for mummies. Let excess chocolate drip off before placing them carefully on the parchment lined tray.
- D r the Details:
- For ghosts, while the white chocolate is still wet, press candy eyes onto each strawberry, then pipe spooky mouths with black decorating gel or melted dark chocolate. For pumpkins, after dipping, use a toothpick to etch vertical ridges to mimic pumpkin grooves, and add a small green leaf of icing near the stem for realism. For mummies, once the initial chocolate coating is set, drizzle thin lines of white chocolate across the berry and place candy eyes between the drizzles to complete the look.
- C l the Strawberries:
- Place the tray in the refrigerator for about 15 minutes to allow the chocolate to fully set and harden.
- S ve and Enjoy:
- Arrange the finished strawberries on a platter for your Halloween table. They are best served chilled but can be left out for a short time at room temperature before serving.
I love the creative freedom this recipe offers. My favorite are the mummy strawberries because the drizzling step feels like wrapping a tiny edible bandage, and it always brings back memories of decorating treats with my niece who insists on making the spookiest faces possible.
Storage Tips
Store the strawberries in a single layer in an airtight container in the refrigerator and eat within two days for best freshness. Avoid stacking to prevent smudging or damage to the decorations. If preparing ahead, freeze them on the tray first before transferring to a container for longer storage.
Ingredient Substitutions
If you cannot find orange candy melts, use orange tinted white chocolate by adding a few drops of food safe orange coloring to melted white chocolate. Substitute coconut oil with vegetable shortening or even butter but note that coconut oil gives a cleaner finish. Also, candy eyes can be replaced with small dots of piped white and black icing if needed.
Serving Suggestions
Serve these strawberries on Halloween themed plates or trays surrounded by fall leaves or small pumpkin decorations for a festive presentation. Pair them with a cold glass of milk or a cup of spiced tea for a balanced treat.
These Halloween chocolate covered strawberries are a fun and festive no bake treat that comes together quickly. They are perfect for sharing with kids and guests and add a playful touch to any Halloween spread.
Common Questions About Recipes
- → What type of chocolate works best for coating strawberries?
Milk, white, and orange candy melts are ideal as they melt smoothly and provide vibrant colors for festive decoration.
- → How do I prevent chocolate from slipping off the strawberries?
Make sure strawberries are fully washed and thoroughly dried before dipping, as moisture prevents chocolate from sticking properly.
- → Can I prepare these in advance?
Yes, after decorating and chilling, strawberries can be stored in the refrigerator for several hours before serving.
- → How do I create ridges on the pumpkin-style strawberries?
Use a toothpick to gently carve vertical lines into the orange chocolate coating while it’s still wet for a natural pumpkin look.
- → What’s the best way to apply candy eyes and facial details?
Press candy eyes gently onto wet chocolate and use black decorating gel or melted chocolate with a piping bag for precise facial features.
- → Is coconut oil necessary in melting chocolate?
Adding a small amount of coconut oil or vegetable shortening helps achieve a silky smooth texture but is optional.