
 Bookmark
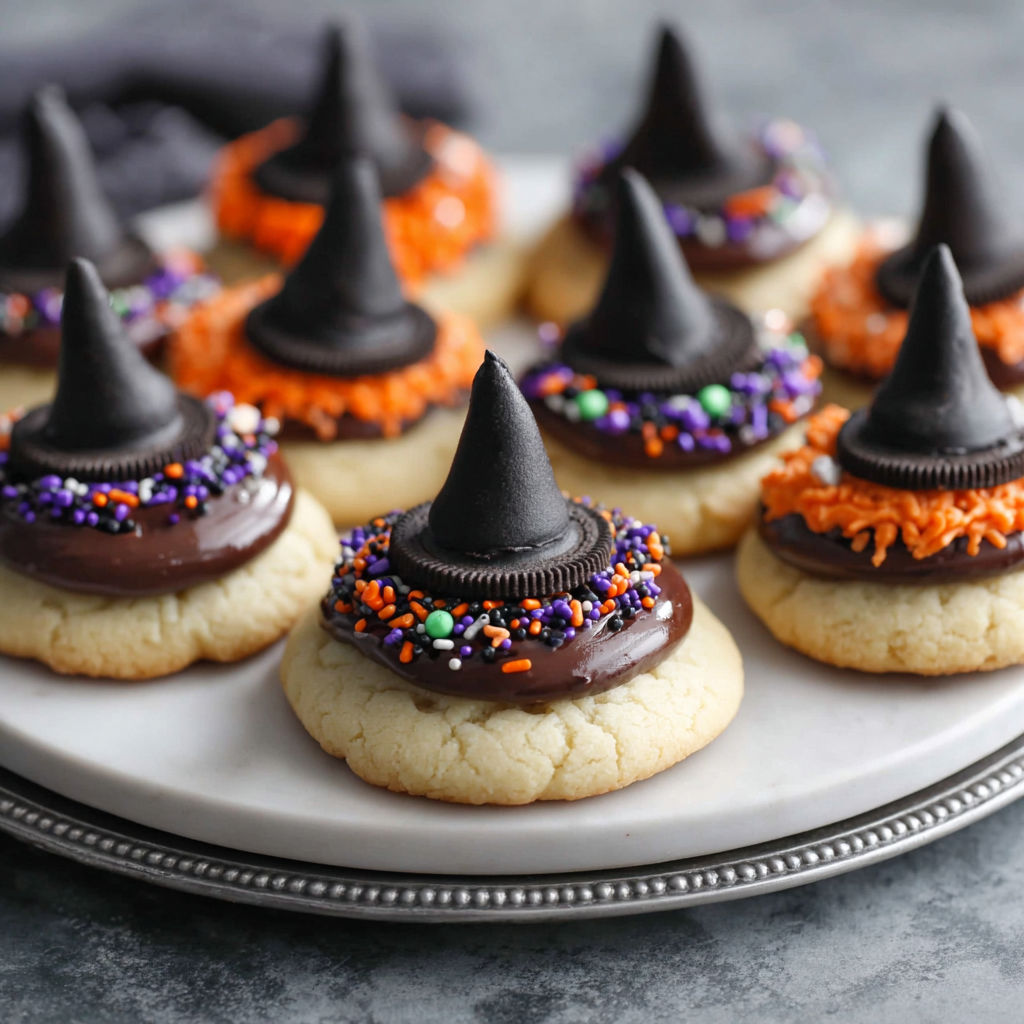
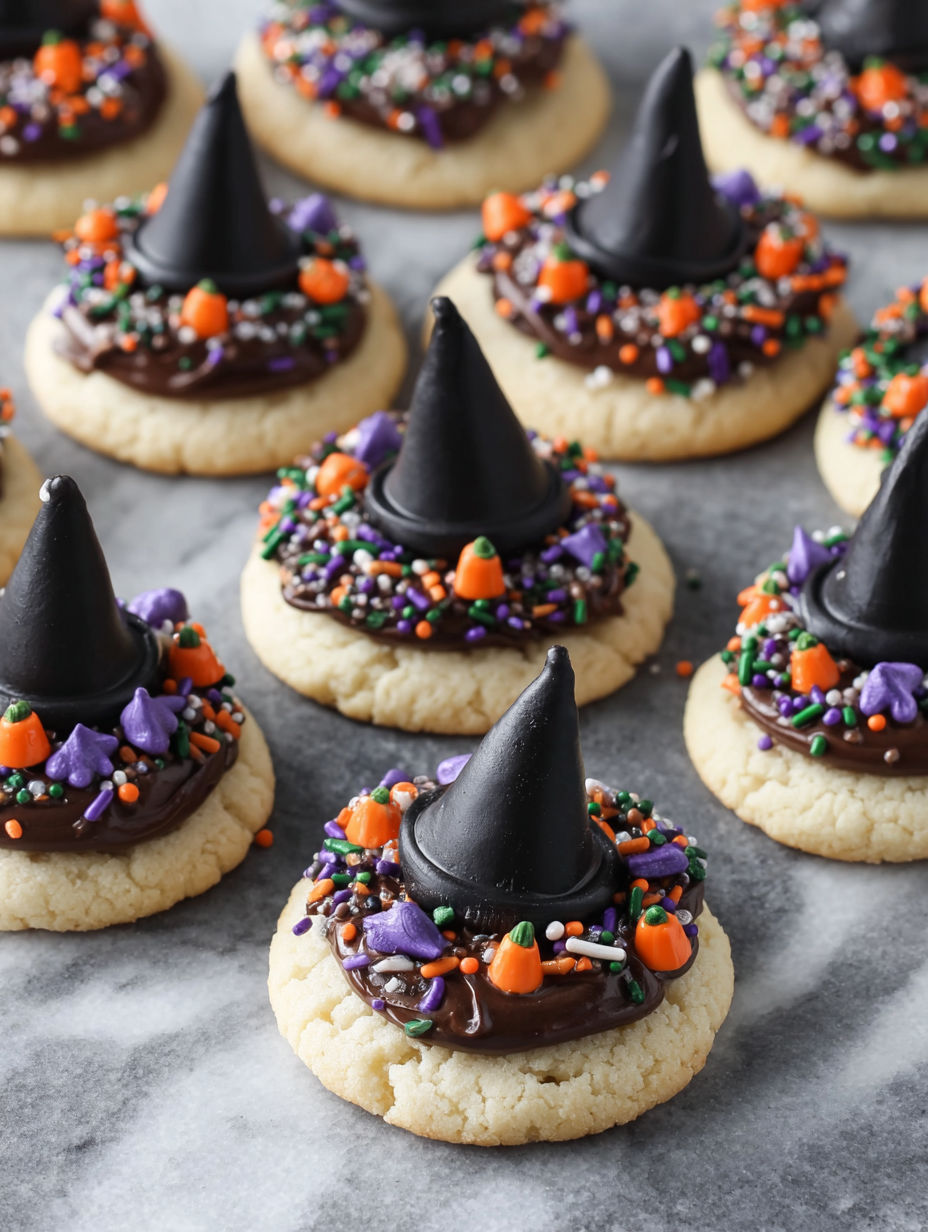
Halloween Witch Cookies are the perfect mix of playful and delicious for your spooky celebrations. These tiny witch hats bring a festive flair to any Halloween gathering with their charming shapes and colorful decorations. The base is a simple, classic cookie that you can customize to your liking while the decorations are easy and fun to assemble, making this recipe great for baking with kids or adding a whimsical touch to your party treats.
When I made these the first time, my niece was so proud to decorate her own witch hats that now it is a Halloween tradition we look forward to every year
Ingredients
- Allpurpose flour: for structure choose fresh flour for best texture
- Baking soda and baking powder: to give the cookies a light lift
- Salt: to balance sweetness and enhance flavor
- Unsalted butter: softened for creamy dough quality butter improves taste
- Granulated and brown sugar: for sweetness and a hint of caramel depth
- Large egg: to bind everything
- Vanilla extract: adds warm aromatic notes pure vanilla is best if you can
- Milk: to moisten the dough and help with texture
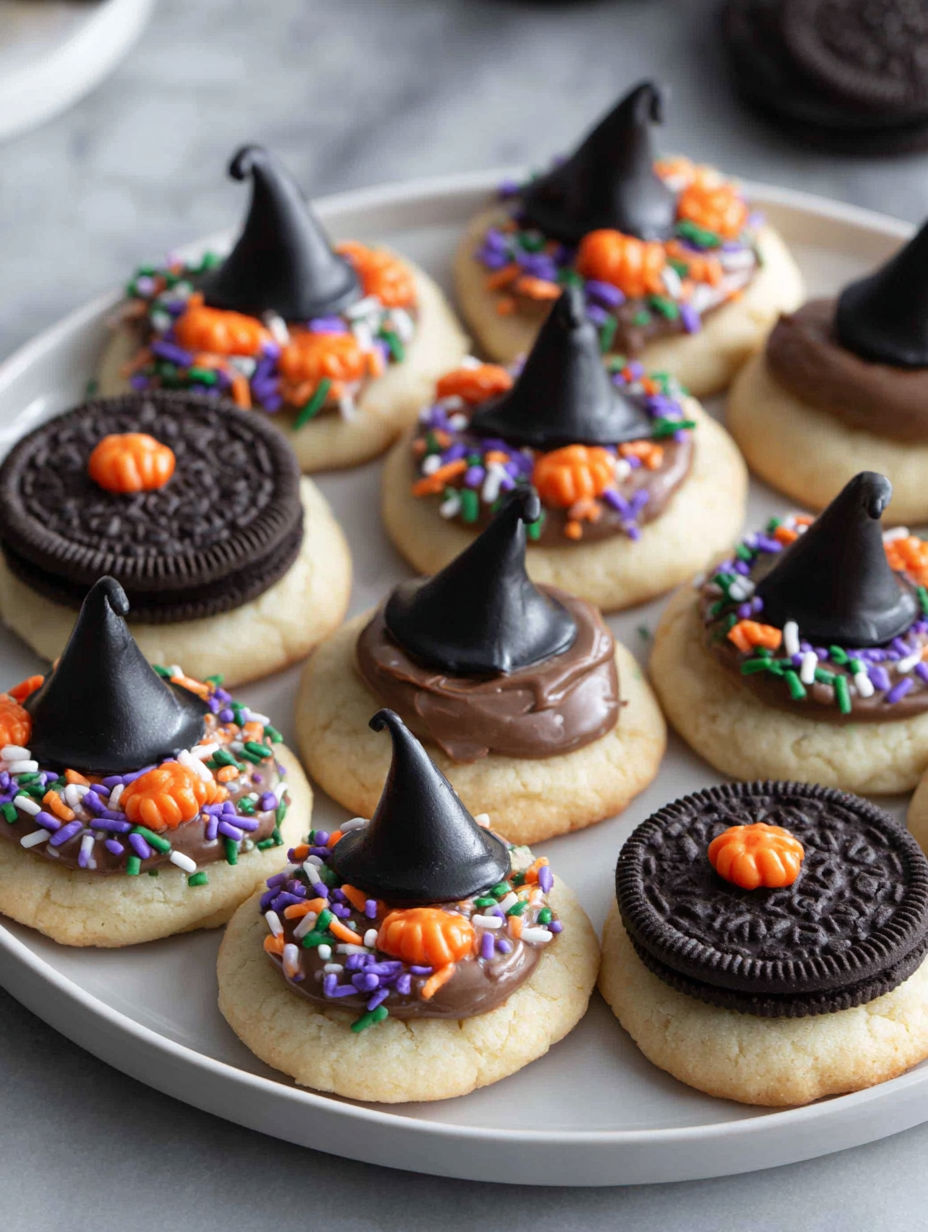
- Chocolate kisses: as witch hat tips classic Hershey’s work perfectly
- Round chocolate wafer cookies: for the witch hat brim pick thin crisp ones to avoid sogginess
- Chocolate frosting: holds decorations together and adds richness store bought saves time or make your own if preferred
- Halloweencolored sprinkles: add festive color and fun use fresh to keep vibrant
- Gel food coloring: lets you tint frosting for extra creativity
Instructions
- Preheat the Oven:
- Set your oven to 350 degrees Fahrenheit or 175 degrees Celsius. Line a baking sheet with parchment paper so your cookies don’t stick and cleanup is easy.
- Mix the Dry Ingredients:
- In a medium bowl whisk together flour baking soda baking powder and salt. This ensures everything is evenly distributed to give your cookies consistent texture and rise.
- Cream Butter and Sugars:
- In a large bowl beat softened butter granulated sugar and brown sugar for about two to three minutes until the mixture is fluffy. This creates air pockets essential for a light cookie. Then add the egg vanilla extract and milk beating until smooth.
- Combine Wet and Dry:
- Slowly add the dry ingredients to your wet mixture stirring gently until a dough forms. Overmixing can toughen cookies so stop once combined.
- Shape Cookies:
- Use a tablespoon or cookie scoop to portion out dough balls on your baking sheet. Flatten each ball slightly with fingers or the bottom of a glass so they bake evenly and provide a flat surface for decorating.
- Bake:
- Bake for nine to eleven minutes until the edges set but the centers remain soft. Remove from oven and allow cookies to cool completely on a rack before moving on to decorating.
- Prepare Witch Hats:
- Spread a small amount of chocolate frosting on top of each cooled cookie. Press one chocolate wafer cookie on top for the base of your witch hat.
- Attach Chocolate Kiss:
- Dab a little frosting on the bottom of each chocolate kiss and place it in the center of the wafer cookie creating the pointy top of the hat.
- Decorate:
- Use colored frosting to pipe a ring around the base of the chocolate kiss. Add Halloween sprinkles over the frosting for a festive look.
- Set:
- Let your cookies rest at room temperature about thirty minutes so the frosting firms up and holds everything together.
I love the chocolate kiss as the hat tip because it adds a smooth rich bite and iconic look. One year my kids surprised me decorating these entirely on their own and that moment remains a favorite memory of making Halloween magic in the kitchen
Storage Tips
Store finished cookies in an airtight container at room temperature to keep them fresh for about three days. If you want to keep them longer place them in the fridge but bring back to room temperature before serving so the frosting softens. For best decoration preservation avoid stacking cookies unless separated by parchment paper.
Ingredient Substitutions
If you prefer gluten free you can swap the all purpose flour with a gluten free blend but results might vary slightly in texture. Use dairy free margarine or coconut oil instead of butter to make these vegan friendly. Experiment with flavored frosting or use white chocolate kisses for a twist on the classic look.
Serving Suggestions
Serve these cookies alongside a warm cup of apple cider or hot chocolate for the perfect autumn treat. They pair well with other Halloween themed snacks like caramel popcorn pumpkin spice muffins or candy corn. Display them on a tiered platter decorated with mini pumpkins and fall leaves for an extra festive table.
These witch hat cookies are a festive and easy project that bring smiles to kids and guests alike. Have fun customizing colors and decorations to match your celebration.
Common Questions About Recipes
- → What type of cookies work best as the base?
Simple sugar cookies or chocolate cookies provide a sturdy base that holds the decorations well.
- → Can the frosting colors be customized?
Yes, gel food coloring allows you to tint the frosting in various festive colors like orange, purple, or green.
- → How do I attach the chocolate kisses securely?
Use a small dab of frosting to stick the chocolate kiss onto the wafer cookie and hold it in place while it sets.
- → What is the best way to store these decorated cookies?
Store them in an airtight container at room temperature to keep them fresh and prevent the decorations from melting.
- → Are these cookies suitable for kids to decorate?
Absolutely, decorating is simple and kid-friendly, making this a fun project for all ages.