
 Bookmark
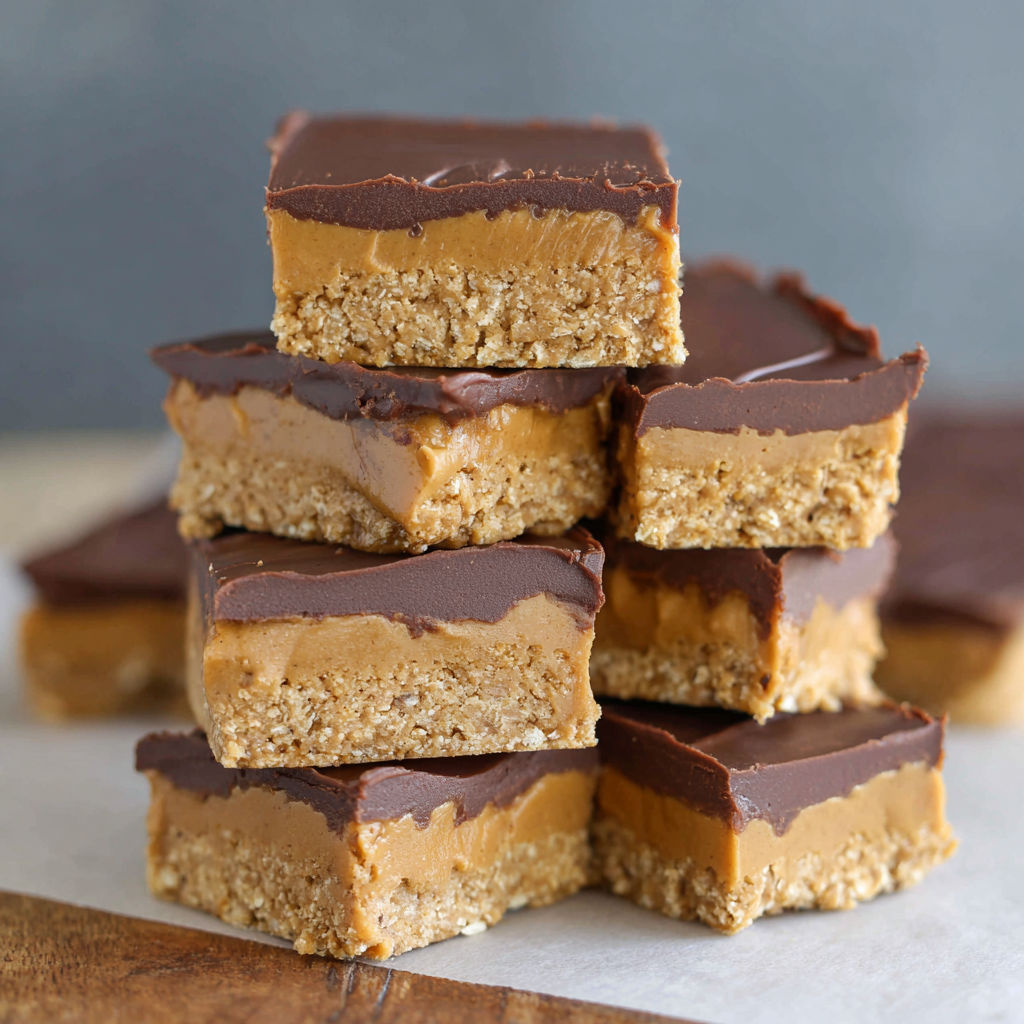
These Healthy Chocolate Peanut Butter Bars with Oats offer a perfect saltysweet treat that is both nutritious and easy to make. Naturally vegan and glutenfree, they come together in just 15 minutes with only seven simple ingredients. This nobake recipe is not only delicious but also packed with protein and fiber, making it an ideal snack or dessert that satisfies cravings while supporting a healthy lifestyle.
I first made these bars during a busy week when I wanted something sweet but wholesome. Now my family requests them regularly because they are so satisfying and easy to grab on the go.
Ingredients
- Natural Peanut Butter and Salt: opting for a jar with just peanuts gives you control over the flavor and keeps it healthy
- Rolled Oats: provide fiber and a subtle nutty taste. Feel free to use quick oats if pressed for time
- Ground Almonds: also called almond flour, boost protein and add a nice texture. Finely ground blanched almonds work best
- Maple Syrup: a natural sweetener that binds the mixture while adding a gentle sweetness
- Dark Chocolate: solid bar chocolate makes a glossy, smooth topping. Choose 70 to 75 percent cocoa for a rich flavor
- Coconut Oil: helps make the chocolate topping shiny and soft. Butter is also a fine substitute
Instructions
- Prepare the Peanut Butter Mixture:
- Stir natural peanut butter thoroughly to ensure it is smooth and creamy with no separated oil. Combine the peanut butter with maple syrup, ground almonds, rolled oats, and a pinch of salt in a large mixing bowl. Mix well until all ingredients are evenly incorporated and form a thick, sticky dough.
- Press Into the Pan:
- Line a square baking pan with parchment paper allowing some overhang for easy removal. Transfer the peanut butter mixture into the pan and press firmly and evenly with a spatula or the back of a spoon. Packing it tightly now helps the bars cut neatly later.
- Melt the Chocolate Topping:
- In a small heatproof bowl, combine chopped dark chocolate with coconut oil. Melt gently over a double boiler or in short bursts in the microwave, stirring frequently until smooth and glossy.
- Spread the Chocolate Layer:
- Pour the melted chocolate over the pressed peanut butter base. Using an offset spatula or the back of a spoon, spread it evenly to cover the entire surface with a smooth layer.
- Chill and Set:
- Place the pan in the refrigerator and chill for at least 30 to 45 minutes or until the bars are completely firm. For quicker setting, use the freezer for 15 to 20 minutes. This ensures the chocolate topping hardens without cracking.
- Slice the Bars:
- Remove from the pan using the parchment paper overhang. Slice into bars using a sharp knife warmed under hot water and dried beforehand. This method helps create clean cuts without breaking the chocolate layer.
Natural peanut butter is my favorite ingredient in this recipe. Its creamy texture and rich peanut flavor make a noticeable difference. I remember once trying a processed peanut butter version and the bars didn’t set as well or taste nearly as fresh. Using pure peanut butter makes these bars a truly nourishing and satisfying snack.
Storage Tips
Keep the bars in an airtight container in the refrigerator for up to one week. They stay wonderfully firm and fudgy, perfect for a grab and go snack. For longer storage, stack bars with parchment paper between layers and freeze for up to two months. Let frozen bars thaw at room temperature for several minutes to restore the best chewiness. Avoid prolonged exposure to warm temperatures as the chocolate softens and may become sticky.
Ingredient Substitutions
If you need a nutfree version, sunflower seed butter and sunflower seed flour make excellent standins. Replace coconut oil with butter if you prefer or do not have it on hand. Swap the maple syrup with honey or date syrup for alternative natural sweeteners. Use certified glutenfree oats if dietary restrictions require it. For a fun twist, add crushed pretzels or roasted peanuts into the peanut butter layer for a crunchy texture.
Serving Suggestions
These bars work great as a wholesome snack, a postworkout treat, or a quick breakfast on busy mornings. Pair them with fresh fruit or a cup of coffee or tea for a balanced pickmeup. You could also cut them smaller and serve as bite sized desserts at gatherings or pack them in lunchboxes for a sweet, healthy surprise.
This recipe has quickly become a favorite in my household because it combines simplicity with wholesome ingredients and great flavor. For anyone wanting a guiltfree treat that delivers on taste and nutrition, these bars are a winner every time.
Common Questions About Recipes
- → What makes these bars nutritious?
They include whole grains from oats, protein and healthy fats from peanut butter and almonds, and natural sweeteners without refined sugar.
- → Can these bars be made gluten-free?
Yes, using certified gluten-free oats or oat flour ensures suitability for gluten-sensitive diets.
- → How should the bars be stored?
Store in an airtight container in the fridge for up to a week or freeze for up to two months for best freshness.
- → What is the best peanut butter to use?
Natural peanut butter with peanuts as the only ingredient is recommended for the best texture and flavor.
- → Can I add extra crunch to the bars?
Yes, mix in chopped roasted peanuts, puffed rice, or crushed pretzels into the base for added texture.
- → How do I achieve a smooth chocolate topping?
Melting dark chocolate with a touch of coconut oil creates a shiny, soft topping that's easier to cut.